Mindblower, game changer ⤵️
Okay, so last November when I started to grow in followers, I shared this bit of sourdough baking advice that I couldn’t believe no other sourdough baker was teaching
And I WAS SHOCKED because surely, I didn’t invent this, I just stumbled upon it…
And when I shared this back then, SO MANY of you told me it’s how you plan on baking sourdough bread from now on
SO WHAT IS IT? WHAT DO I DO DIFFERENTLY?
Well, it’s the way I shape my sourdough bread!
NO, this isn’t about using
the tri-fold method vs
the envelope method …or even vs
the new trendy caddy clasp method I see now…
My sourdough baking CHANGED when I realized I could shape my sourdough bread with WATER instead of FLOUR
Yes, you read that right☝️
You see, I have a really very small kitchen,
With an even smaller counter space
So kitchen real estate is very previous
And so doing things this way has SO MANY BENEFITS:
- LESS MESS to clean up —no flour everywhere
- No eating raw flour (more on this below)
- Less flour used = more money saved
💡How does this work? ⤵️
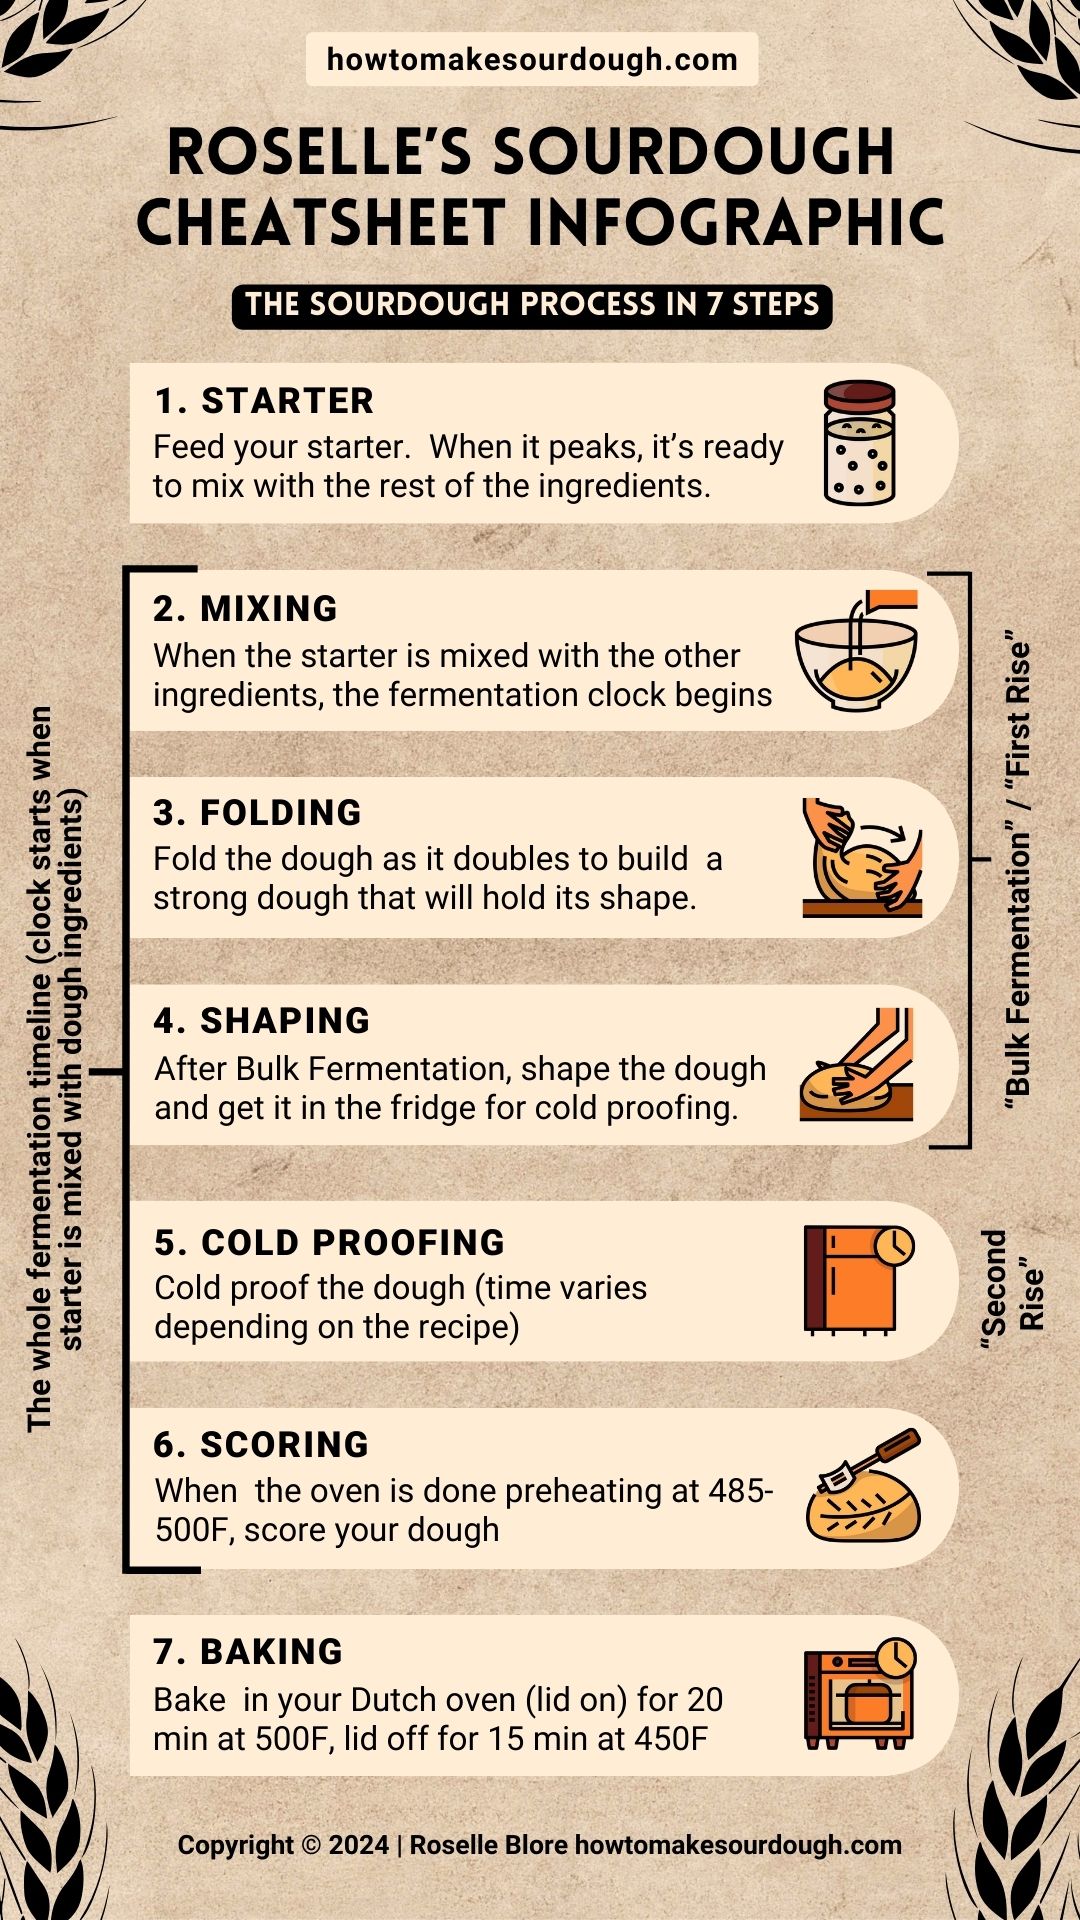
The whole point of folding is to build the gluten network so the dough holds its shape.
And Shaping is really just a series of rapid folding/kneading.
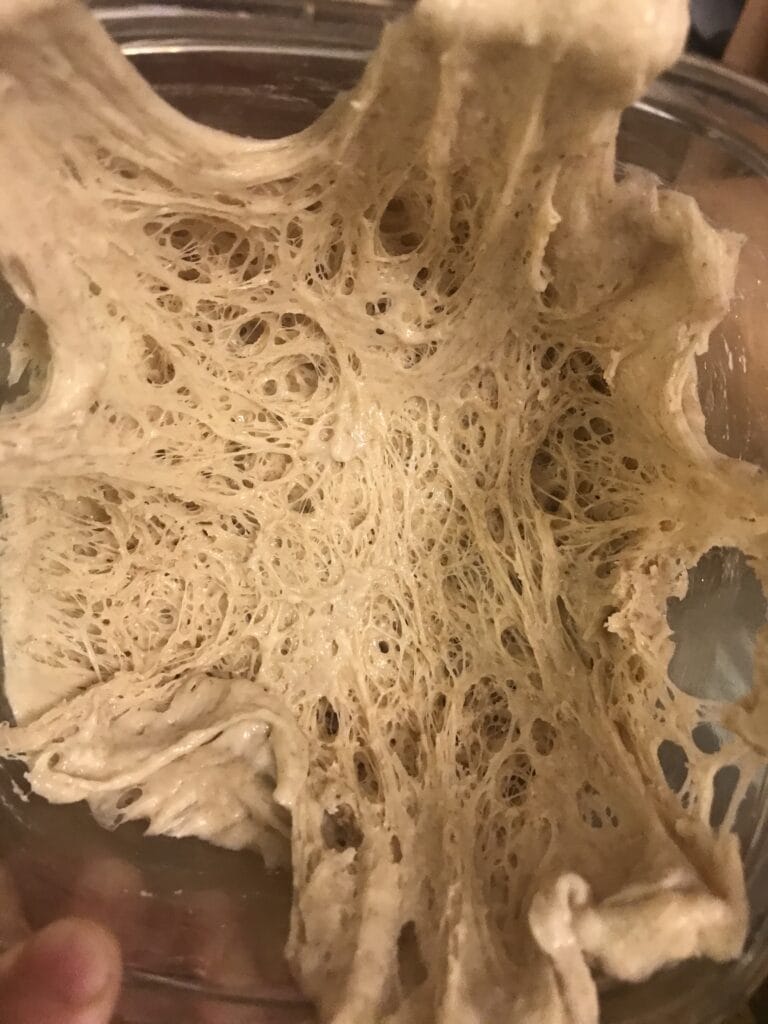
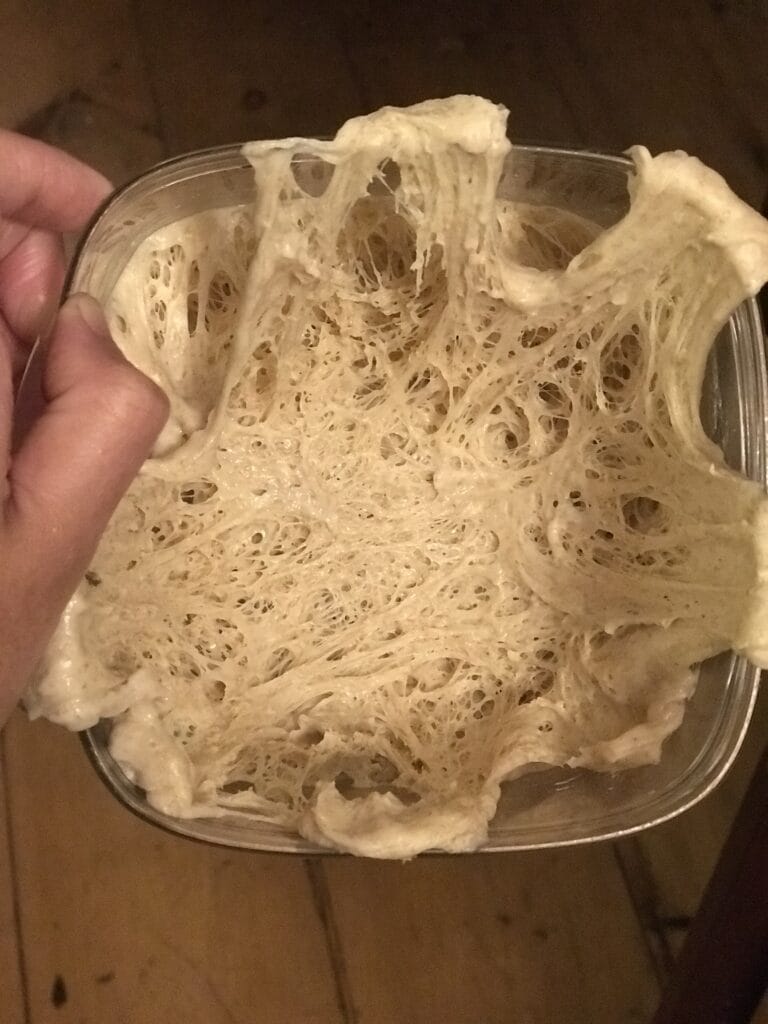
While you are building this gluten network through your folding and shaping, the surface of the dough starts to get SMOOTH and TAUT.
This is the gluten network building right before your eyes.
THIS IS WHAT STOPS THE DOUGH FROM STICKING to you, your liner, your banneton, etc.
As long as you are building surface tension in your dough, the dough doesn’t get sticky.
💡So what do I do EXACTLY?
Instead of dusting my table with flour, I wet my hands and wipe the table with a tiny layer of water and then I shape my sourdough dough
And instead of dusting my banneton with flour, I simply just place my dough in my banneton that’s lined with a cotton tea towel
As long as you are building surface tension in your dough, the dough doesn’t get sticky.
VIDEO TUTORIALS:
In this ☝️ video, I’m shaping my soft white sourdough —a LOW hydration dough (67%). It’s a stiff dough, but once fermented, it acts like a blob. It is one of the easiest doughs to shape —so it has always perplexed me why so many people shape this kind of dough with so much excess raw flour.
⭐️ COUNTRY SOURDOUGH ⭐️
In this ☝️ video, I’m shaping my country sourdough —a HIGH hydration dough (74%). It’s a wetter dough, so will be a bit sticky. No worry, the method is the same as in part 1.
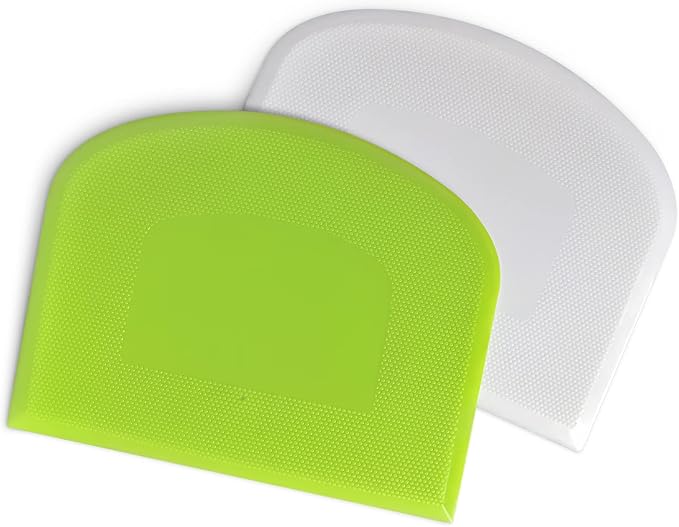
All you need is your trusty metal bench scraper. Simply wet it down with some water and you’re good to go. Follow along with me in the video!
It also helps to wet your hands and work surface lightly before you dump the dough on your work surface.
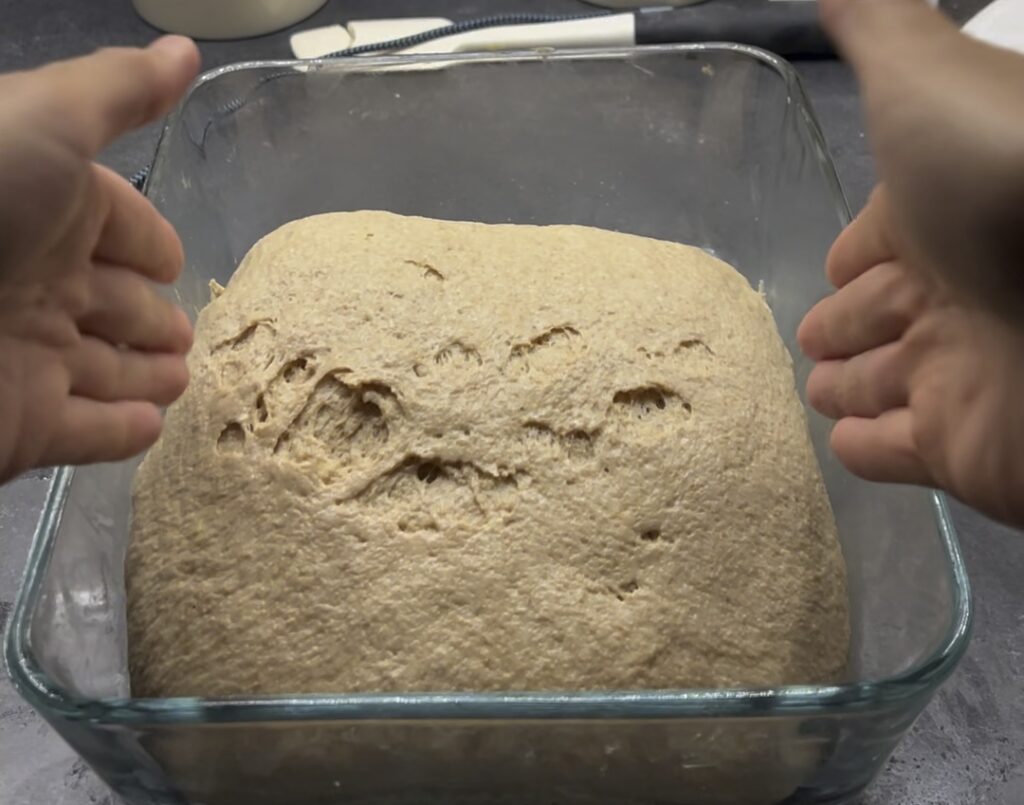
⭐️ WHOLE WHEAT SOURDOUGH ⭐️
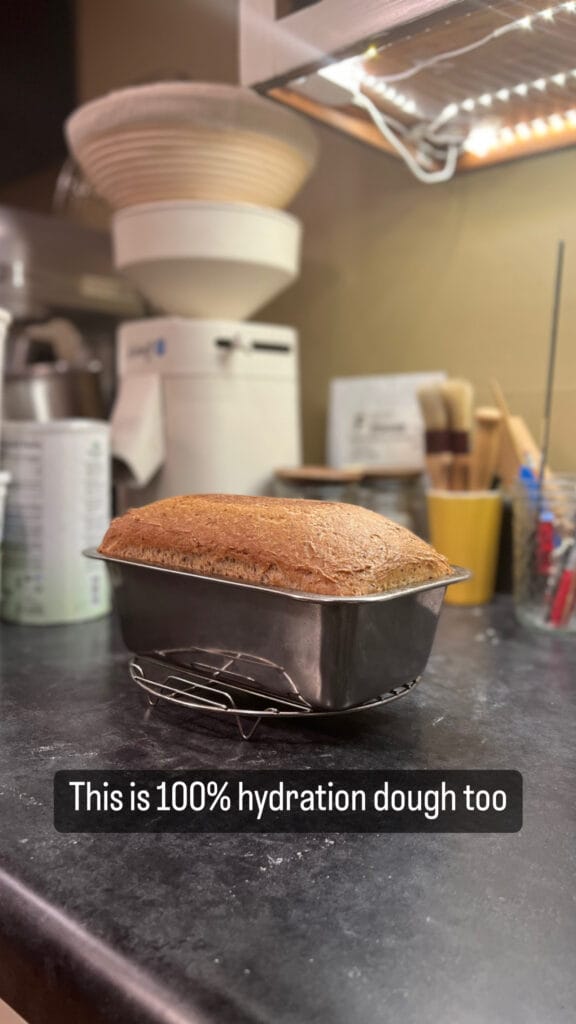
In this ☝️ video, I’m shaping my whole wheat sourdough —a VERY HIGH hydration dough (84%). It’s a much, MUCH wetter dough than the last two doughs so it can be very sticky. Not to worry, the method is the same as in part 1 and 2!
All you need is your trusty metal bench scraper. Simply wet it down with some water and you’re good to go. Follow along with me in the video!
It also helps to wet your hands and work surface lightly before you dump the dough on your work surface.
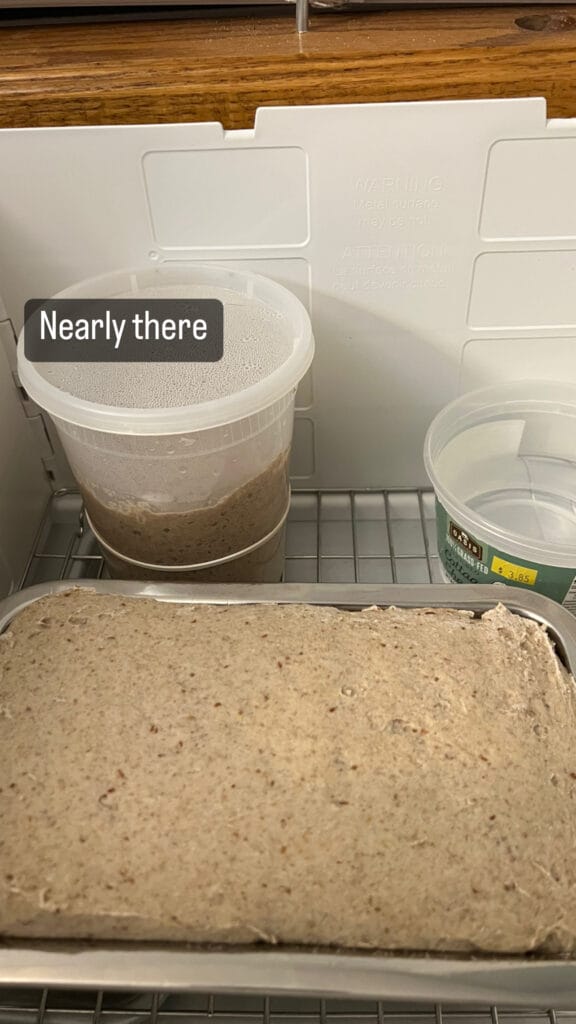
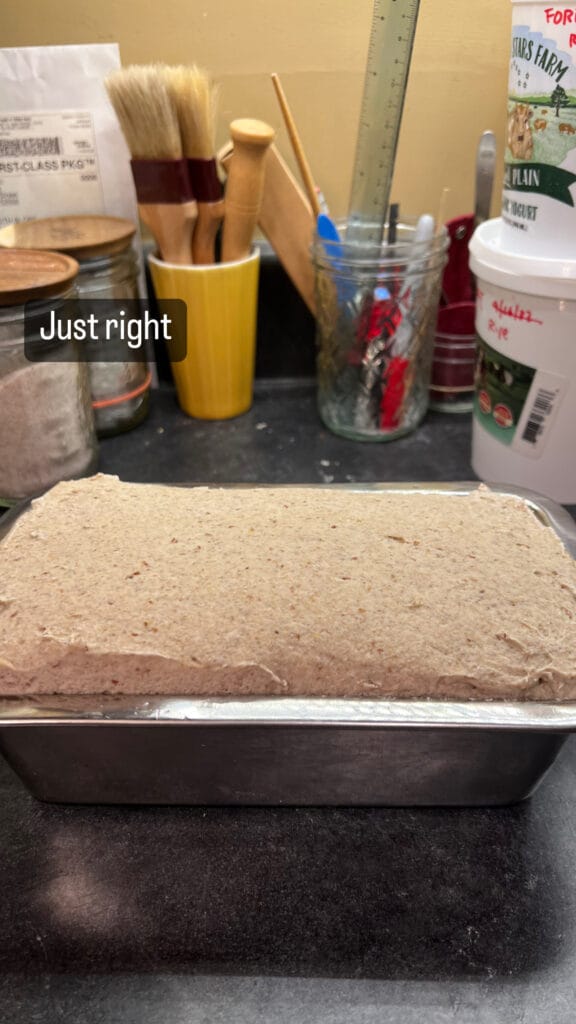
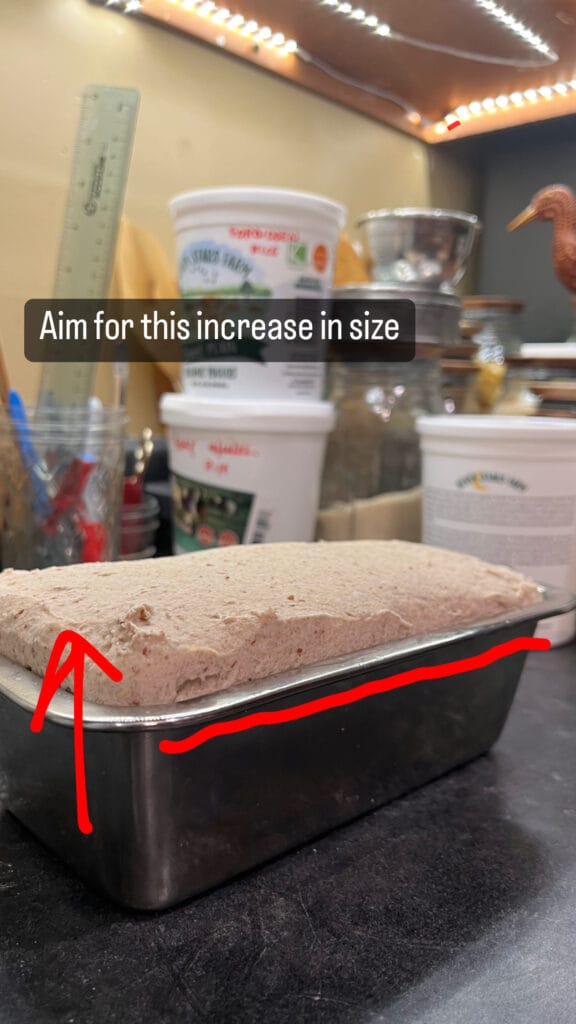
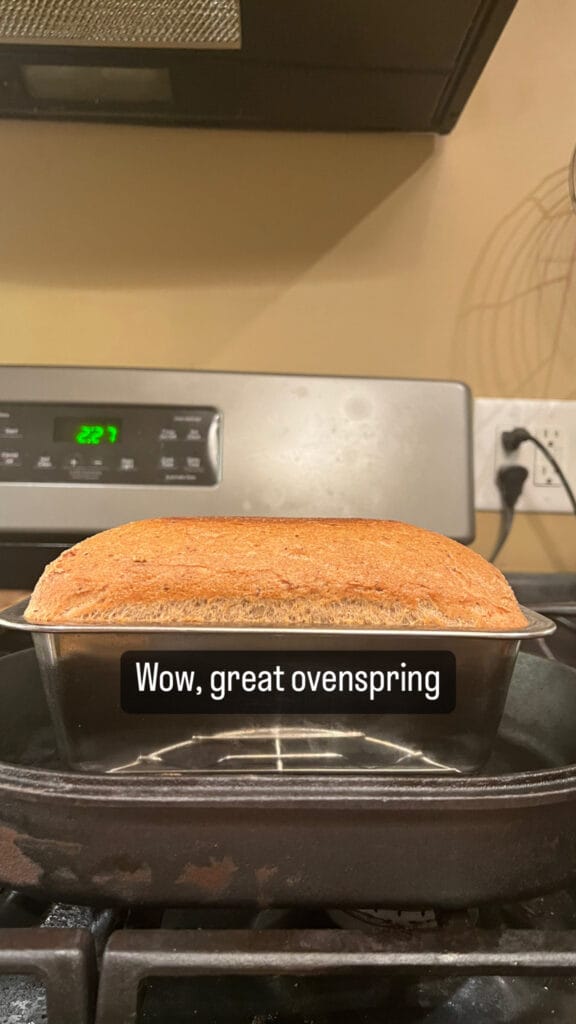
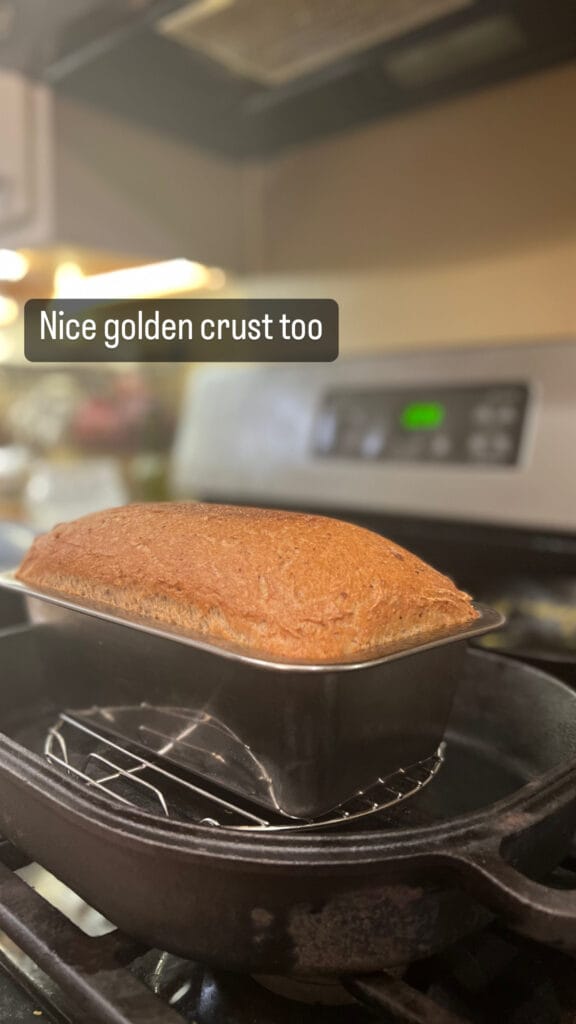
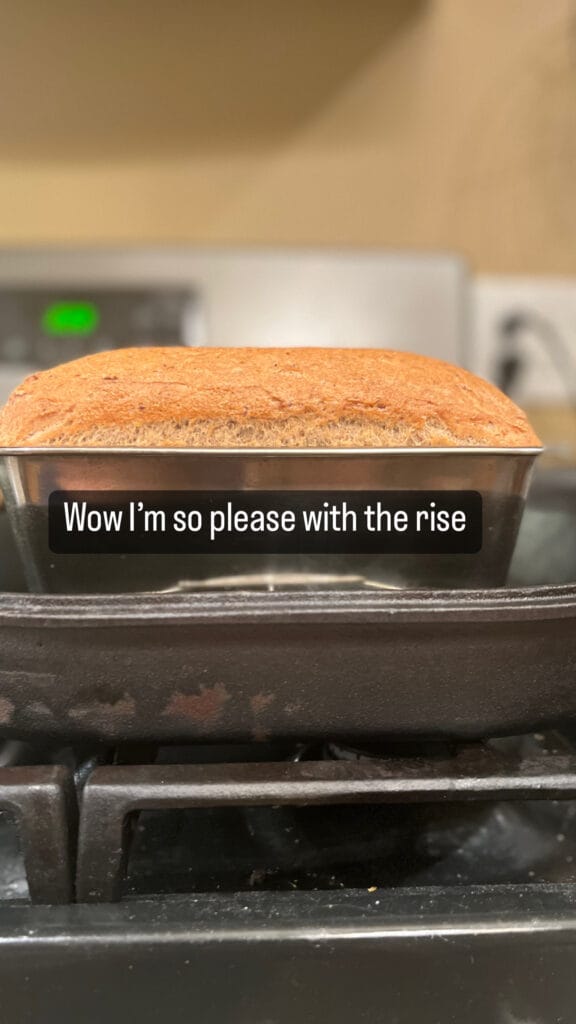
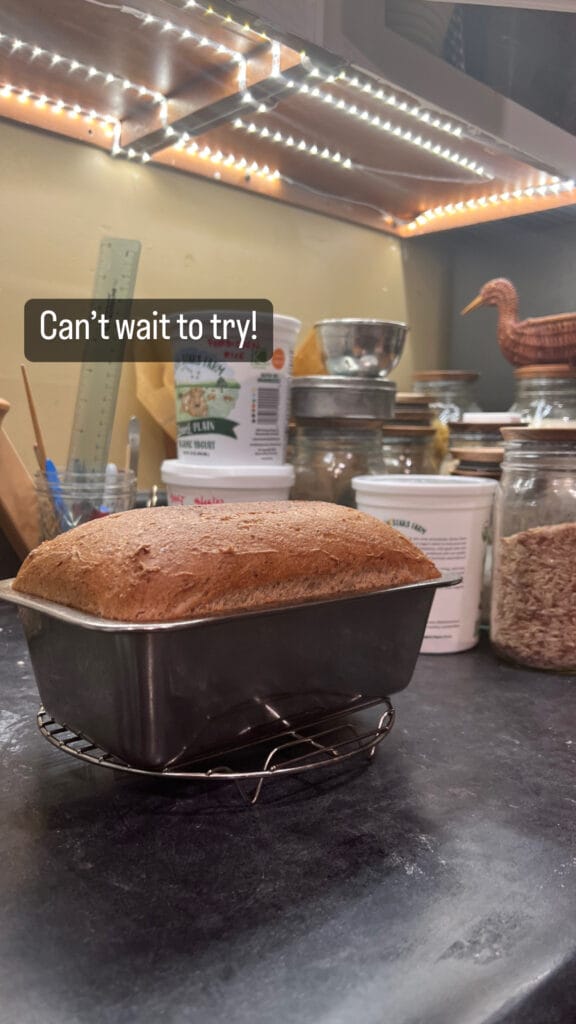
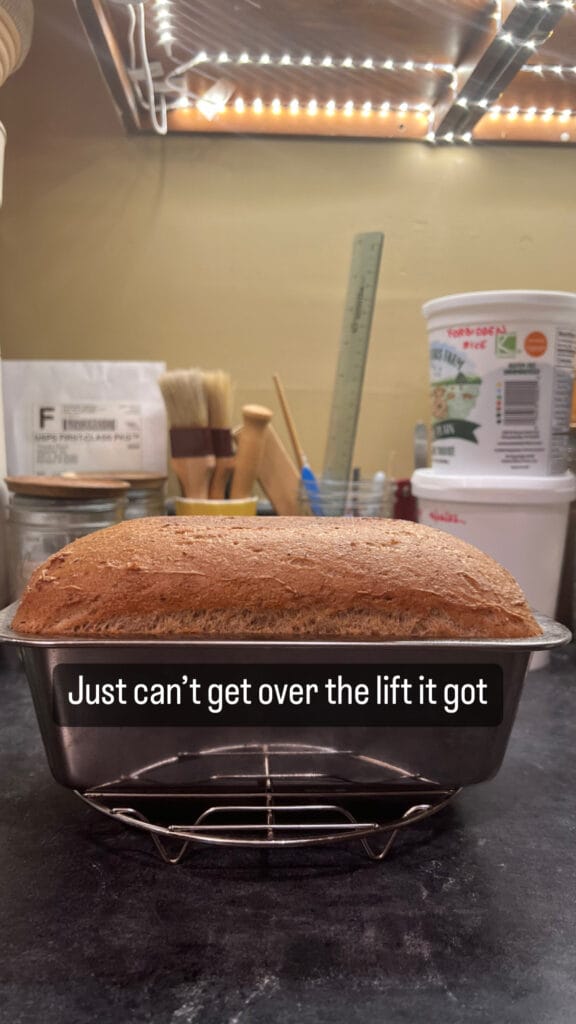
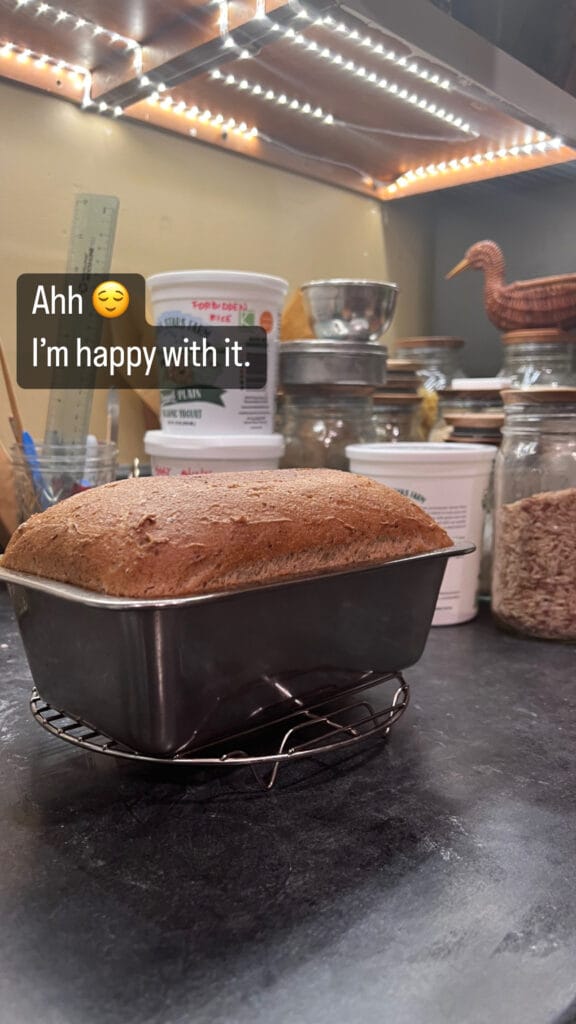
In this ☝️ video, you see the final reveal of each three of the sourdough breads in this shaping tutorial.
My opinion, conclusion:
The industry standard of using flour to dust your dough for shaping and proofing, is unnecessary –you’re only just introducing raw flour so late in the game. This is why some people get gassy and bloaty when eating sourdough –because all that excess raw flour is not fermented! So guess what’s fermenting it? YOU!