How To Keep Your Sourdough Starter Alive
Consistent, Frequent Feedings
Feeding Frequency: If you’re keeping your sourdough starter at room temperature, the key is to feed it consistently, at least once per day, if not twice. The starter will likely rise and fall within 4-6 hours at room temperature, so frequent feedings are essential to keep it happy and active.
If the starter is being stored in the refrigerator, the feeding frequency can be reduced to once every 5-7 days, as the cooler temperature will significantly slow down its metabolism and consumption of the food.
But for starters maintained at room temperature, neglecting feedings is the quickest way for it to become sluggish and unresponsive. The starter needs regular replenishment of fresh flour and water to sustain its yeast and bacteria populations. Aim for at least one feeding per day, and potentially two if you notice it rising and falling rapidly.
Consistent, frequent feedings are the foundation of keeping a healthy, thriving sourdough starter, especially when it’s being kept out at room temperature.
NOTE: It’s okay to put your sourdough starter in the fridge indefinitely this is basically putting your starter in cold storage, for use someday. I have put my sourdough starter in the fridge, forgotten about it for months and it was still fine. All you have to do is get rid of the liquid on top, discard very heavily and feed at higher ratios, at least 1:5:5
Sourdough Starter Feeding Ratios
Use a baseline of 1 part starter : 1 part flour : 1 part water (by weight) as a starting point.
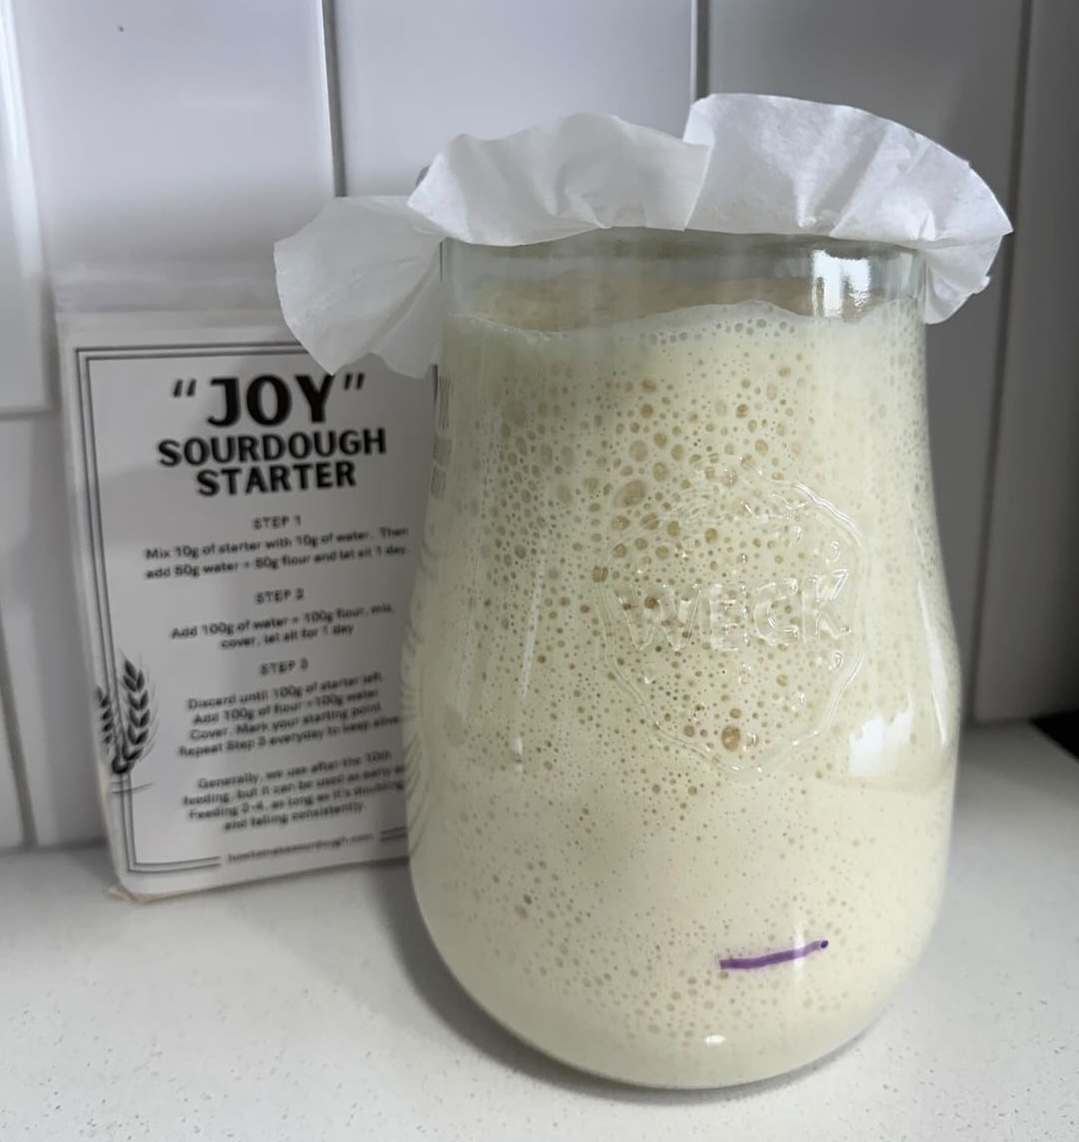
However, you can adjust the water amount as needed for your specific starter. The key is to feed it at least its own weight in flour. For example, see above. The starter weighs 100g, so you have to feed it at least 100g of flour. You can be flexible in how much water you feed it, but you have to feed the starter at least its own body weight in flour.
This 1:1:1 ratio provides a good balance of nutrients for the yeast and bacteria in the starter to thrive. However, you can experiment with adjusting the hydration levels by adding a bit more or less water as needed.
The most important thing is to make sure you’re feeding the starter at least its own weight in fresh flour. This ensures it has an adequate supply of food to consume and remain active.
The flexibility lies in the water amount, but the flour should always be at least equal to the starter’s weight.
Examples of different feeding ratios
1 : 1 : 1
| 1 part starter | 1 part flour | 1 part water |
| 100g | 100g | 100g |
1 : 5 : 5
| 1 part starter | 5 parts flour | 5 parts water |
| 20g | 100g | 100g |
1 : 10 : 10
| 1 part starter | 10 parts flour | 10 parts water |
| 10g | 100g | 100g |
Sourdough Starter Temp Control:
The temperature directly affects the speed of the starter’s fermentation. Cooler temperatures, around 60-70°F, will slow down the starter’s activity, causing it to take longer to consume the available food. Warmer temperatures, around 75-85°F, will speed up the fermentation, causing the starter to eat through its food more quickly.
Paying close attention to how your starter responds to different temperatures is key. The colder the environment, the longer the starter will take to reach its peak before running out of food. Conversely, the warmer it is, the faster the starter will consume its resources and begin to decline.
Controlling the temperature is an important lever you can use to adjust the pace of your sourdough fermentation to fit your schedule. Experiment with different spots in your kitchen and observe how the starter’s activity changes based on the ambient temperature.
Sourdough Starter Discard & Refresh
When feeding your sourdough starter, you can discard any amount of the old starter before adding fresh flour and water. Many bakers discard HALF of their starter. Or they prefer to do what I do, which is discarding heavily and feed at higher ratios, such as using a 1:10:10 or 1:50:50 ratio.
Why would you do this?
Well, discarding a larger portion of the existing starter and then feeding the remaining small amount with a much higher flour and water ratio serves an important purpose.
It helps provide the starter culture with an abundance of fresh, nutrient-rich food to consume. By retaining only a small percentage of the old starter and giving it a large volume of new flour and water, you are essentially “resetting” and rejuvenating the culture.
This can be especially beneficial if the starter has become sluggish/less responsive over time or if the starter has missed a few feedings and now it’s become too acidic.
The reasoning behind this heavy discarding approach is that it ensures the yeast and bacteria have ample resources to thrive.
Rather than just incrementally feeding the existing starter, the aggressive discard and high feeding ratio gives the microbes a boost of energy and food to work with.
So while the standard 1:1:1 feeding ratio is a solid baseline, don’t be afraid to experiment with discarding more and feeding at higher ratios like 1:5:5, 1:10:10 or even 1:50:50. This can help revive an underperforming or undesirable starter and keep it at peak activity.
What does a healthy sourdough starter look like?
A healthy, happy sourdough starter has a very distinct appearance and behavior. Here’s what you want to look for:
Appearance:
Aroma:
Behavior:
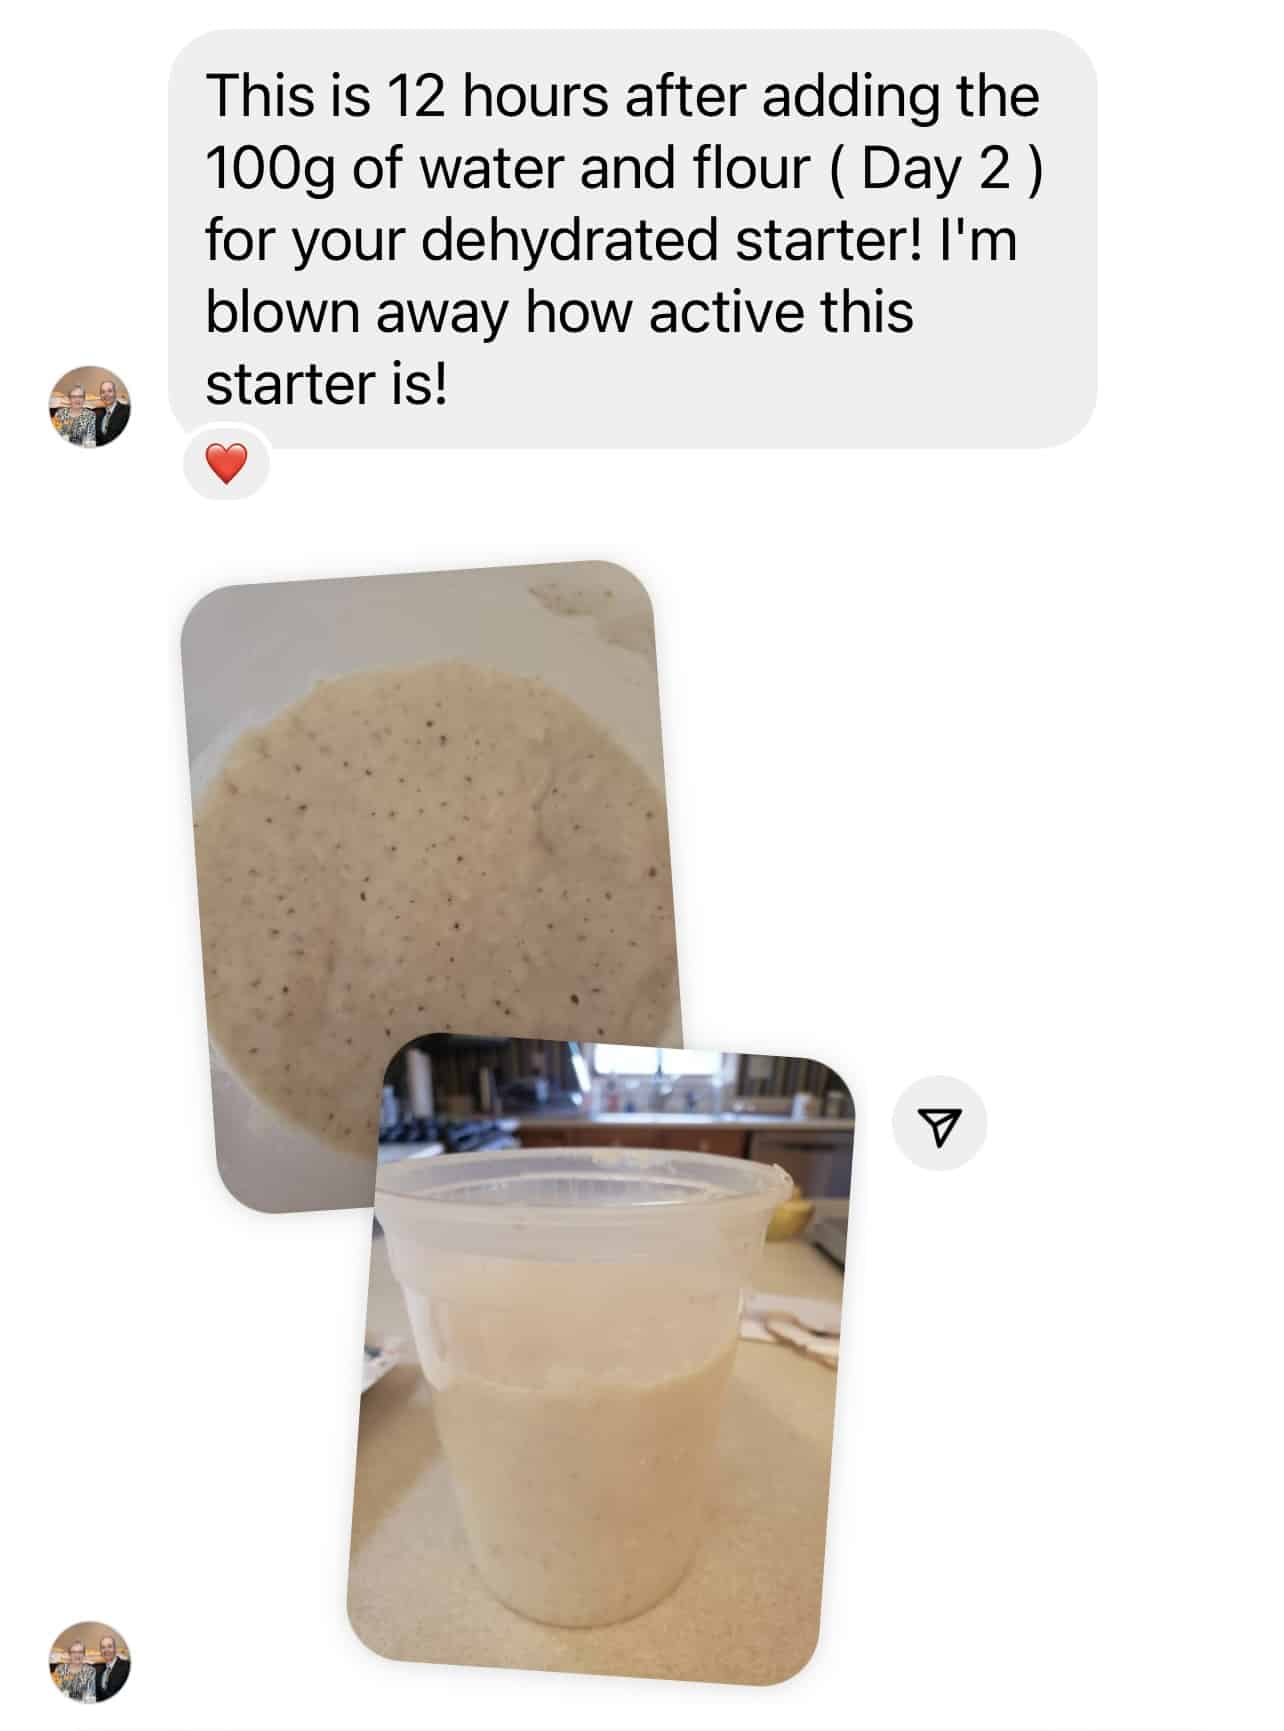
When you look at a healthy starter, it should appear vibrant, alive, and ready to work. The bubbles are an important sign – lots of tiny, evenly distributed air pockets indicate the yeast is very active and producing gas.
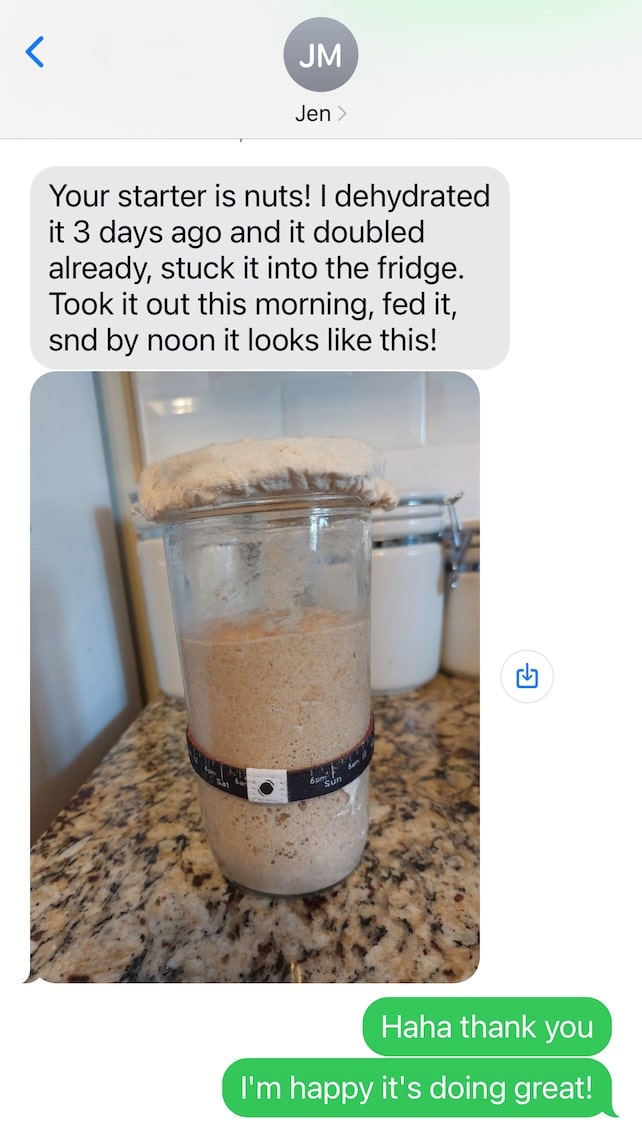
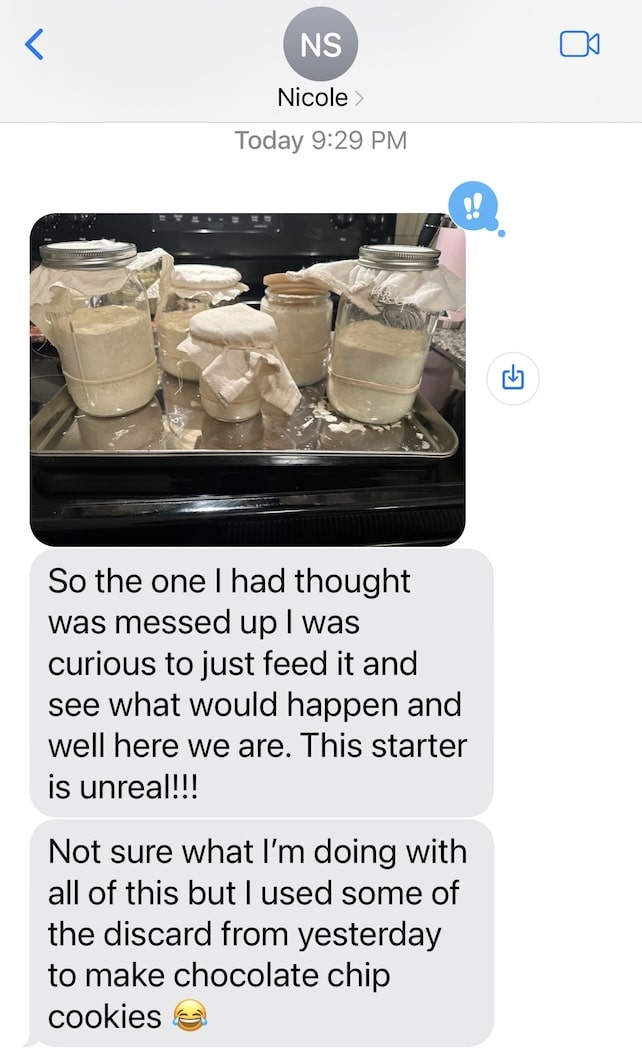
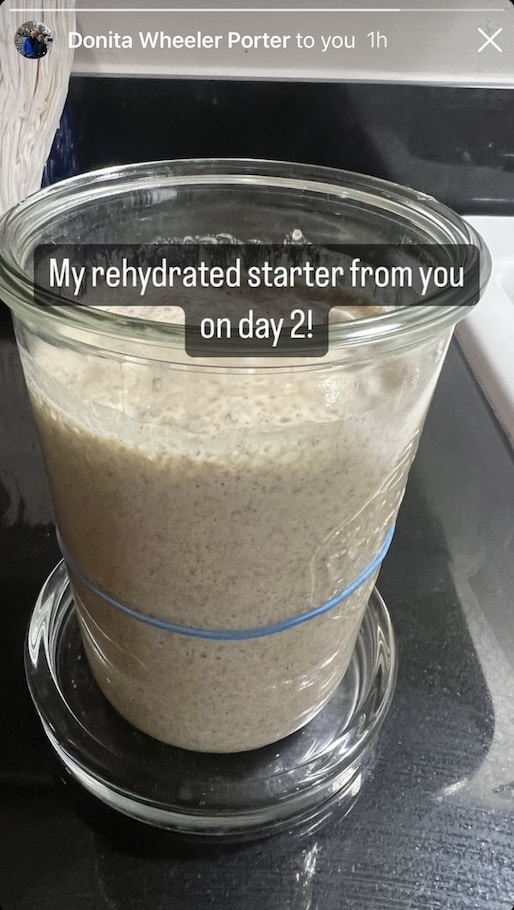
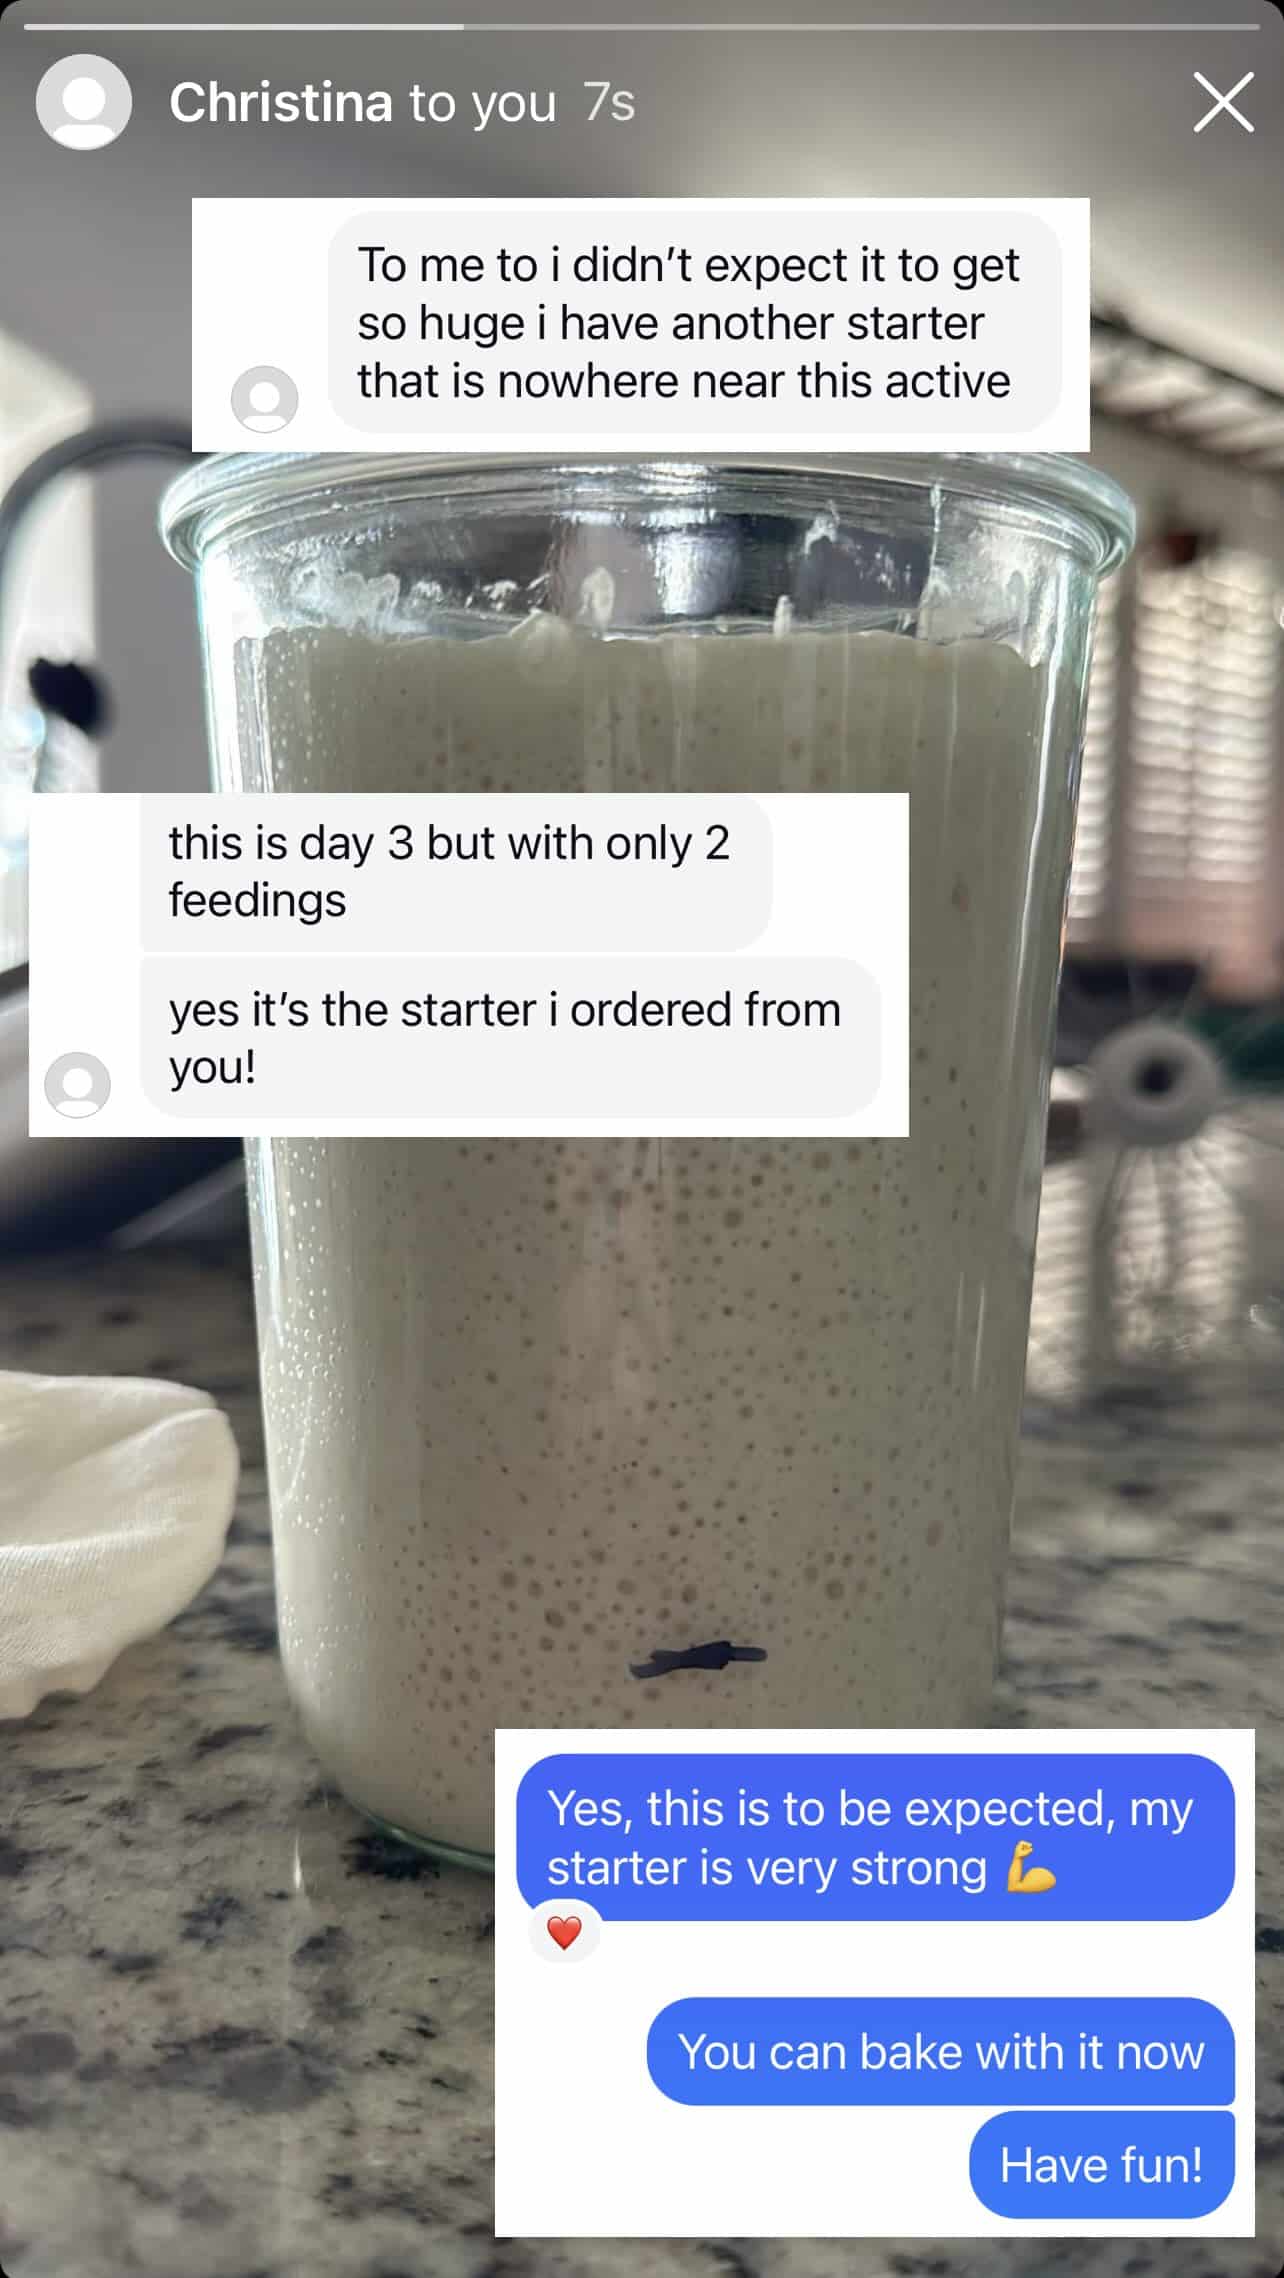
The dramatic expansion in volume after feeding also showcases the starter’s strength and metabolic power. Seeing it double or triple in size lets you know the microbes are consuming the new food sources rapidly.
And of course, that wonderful yeasty aroma is a telltale sign of a happy, thriving sourdough culture. Any funky, alcoholic, or unpleasant smells would be a red flag that something is off.
Overall, a healthy starter just exudes vitality. It’s lively, responsive, and consistently demonstrates the rise and fall cycle that indicates it’s well-fed and ready to go for baking. Pay close attention to these visual and olfactory cues to ensure your starter is in peak condition.
Troubleshooting Your Sourdough Starter
When it comes to troubleshooting your sourdough starter, there are a few common issues that can arise and some adjustments you can make to get it back on track. Let’s go through some of the most common problems:
Sluggish Activity:
If your starter is not rising and falling as dramatically as it should after being fed, that’s a sign it may need some adjustments. This could be due to:
Unpleasant Aroma:
If you notice sour, alcoholic, or just generally off-putting smells coming from your starter, that indicates an imbalance in the microbial culture.
Discard most of the starter, and “wash” the remainder of the starter by adding some water into the jar, mixing it up and discarding half of that starter/water mixture. Then feed it at a high feeding ratio of at least 1:10:10, if not more, to help “reset” the culture.
Separation/Hooch:
Seeing liquid (hooch) forming on top of the starter or dry, crusty edges are signs it’s becoming too hungry between feedings.
If you see hooch forming on the surface of your starter, the first step is to carefully pour off the excess liquid before discarding and feeding the starter.
Pouring off the hooch helps remove the built-up alcohol and sugars that have separated out. This allows you to then discard and feed the remaining starter with fresh flour and water, providing it with the nutrients it needs.
Skipping the step of pouring off the hooch before discarding and feeding can reintroduce those undesirable byproducts back into the starter culture. It’s an important part of the process to get the starter back on track.
Signs Your Sourdough Starter Has Gone Bad
When diagnosing a sourdough starter that has developed mold, there are a few key things to look for and steps to take:
Visual Inspection
The first and most obvious sign of mold will be the visual appearance. Look for any fuzzy, colored growths on the surface of the starter – this is the telltale sign of mold. It may appear green, blue, white, or even black in color.
If you notice your starter taking on a pinkish or orangey hue, that could be an indicator of a bacterial contamination. The color is often a result of certain types of bacteria proliferating in the starter. This usually happens *right before* the starter starts to mold. So as soon as you see a pink or orange film on your starter, know that mold is just around the corner.
Smell Test
In addition to the visual inspection, use your nose to assess the starter. A moldy starter will often have an off-putting, musty or rotten smell that is distinctly different from the normal sourdough aroma.
Check the Environment
Consider the storage conditions of the starter. Mold can thrive in environments that are too warm, damp, or have poor air circulation. Make sure the starter is being stored properly in a clean jar at the right temperature range.
Discard and Start Anew
If you confirm the presence of mold through visual and olfactory cues, the best course of action is to discard the entire contents of the starter jar. Mold spores can easily contaminate an entire culture, so it’s not worth trying to salvage it.
Thoroughly clean the jar and any utensils that came in contact with the moldy starter. Then begin cultivating a brand new sourdough starter from scratch, being extra vigilant about maintaining proper feeding schedules and storage conditions to prevent future mold issues.
Catching mold early and reacting decisively is key. Don’t risk baking with a moldy starter, as that could introduce harmful mold into your final bread. It’s better to start over with a clean slate and rebuild a thriving, healthy sourdough culture either from scratch or when you buy my starter here.
How to properly reboot a starter
Mold is the only reason you would trash your starter and start anew. If there is no sign of mold, but your starter is still not performing great, then a reboot could be just the thing to get your starter back up and running! Rebooting a neglected or hungry sourdough starter is an important process to get it back on track. Here are the proper steps:
By following this process – discarding the majority, washing the remainder, and then feeding aggressively – you can get a problematic, hooch-laden starter back on track. The high feeding ratio provides a surge of fresh nutrients to reset the culture.