Discover the Best Sub Sandwich Bread / Hoagie Rolls
Bake Bakery-Worthy Sourdough at Home with My Foolproof Sub Sandwich Bread / Hoagie Rolls Recipe
Elevate your sandwich game with my foolproof sourdough sub sandwich roll recipe – they’re easy to make, unbelievably delicious, and sure to impress everyone who takes a bite.

Ah yes, sourdough hoagie rolls – a true staple in my repertoire that’s always a crowd-pleaser! These delectable rolls are not only incredibly delicious, but also incredibly versatile.
When you bite into one of these sourdough hoagie rolls, you’re greeted with a crisp, golden crust that gives way to a soft, pillowy interior.
They make the perfect vessel for classics like meatball subs or Italian cold cuts, but also shine when stuffed with chicken salad, roasted veggies, or even just a simple spread of your favorite condiments.
I can’t tell you how many times my friends and family have raved about these sourdough hoagie rolls.
They’re one of those recipes that seem like they must be complicated, but in reality, they come together in a snap with just a few pantry staples.
Once you master this sourdough hoagie roll recipe, you’ll be able to whip up batches anytime the craving strikes. They freeze beautifully too, so you can always have a stash on hand for quick, delicious sandwiches. Trust me, this is a recipe you’ll turn to again and again!
PrintSourdough Bread Recipe: Hoagie Rolls
- Prep Time: 4-6hrs for the sourdough starter to come to peak
- Fermentation Time: 2hr room temp proof + 8hr cold proof + 2hr final proof
- Cook Time: 20 min
- Total Time: 18hrs 20min
- Yield: 4 LARGE hoagies or 6 MEDIUM hoagies 1x
- Category: Sourdough Baking
Ingredients
500g Bread Flour
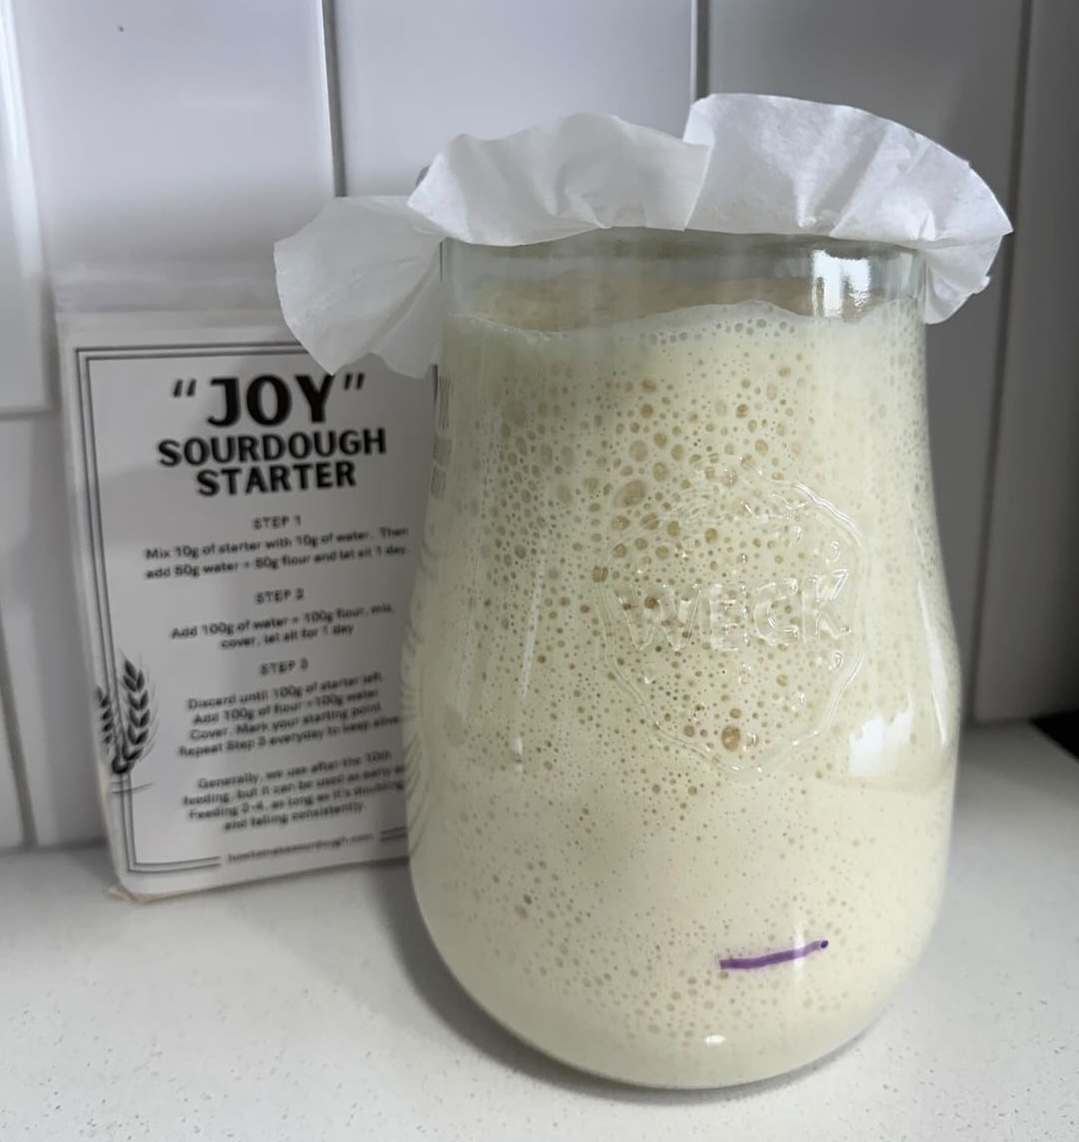
125g Sourdough Starter
150g Water
125g Milk
25g Olive Oil
25g Agave Syrup
10g Sea Salt
11g Diastatic Malt Powder (optional)
Instructions
Step 1 – FEED STARTER:
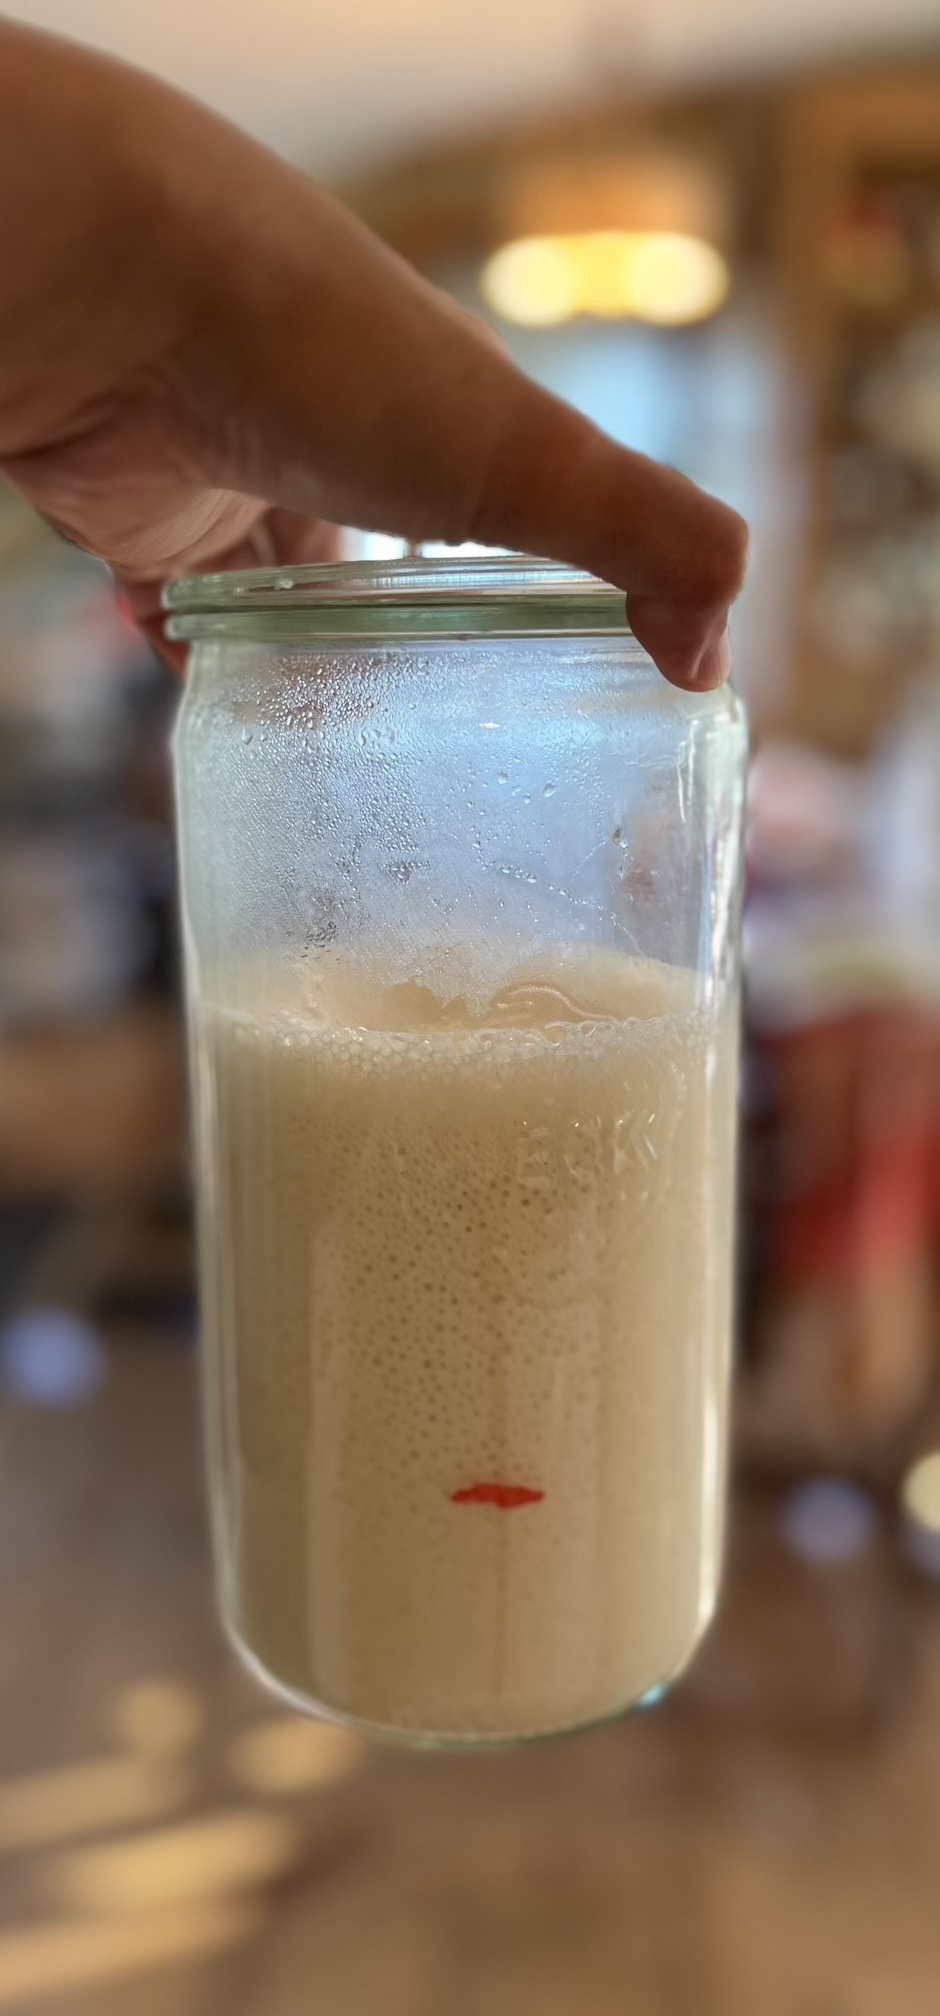
- Feed your sourdough starter and use when it’s at peak –basically when it can no longer rise and it starts to crater a little
Step 2 – MIXING:
- In a stand mixer, combine your ingredients together
Step 3 – BULK FERMENTATION/1st RISE:
- Shape the dough into a taut ball and let it proof at room temp (70F) for 2hrs
Step 4 – COLD PROOFING/2nd RISE:
- Then put it in your fridge to cold proof overnight (8hrs)
Step 5 – SHAPING:
- Take out the cold dough and divide into 4 or 6
- then shape into tight logs, make sure you pinch the seams
IMPORTANT:
- If using a Dutch Oven to bake, place EACH dough seam side down on a folded up piece of parchment paper (you will use the parchment paper ends to lift the dough INTO the Dutch Oven
- If using the Open Bake method, simply line a baking tray with parchment paper and place each dough seam side down there, spaced evenly apart
Step 6 – FINAL PROOFING/3rd RISE:
- Let that proof at room temp until *nearly* double in size.
- Not double, just *almost* double.
- Will take 2-4hrs. Just watch carefully.
Step 7 – SCORING THEN BAKING:
- Then, preheat your oven at 425F.
- When your oven is ready, score each hoagie roll with a blade
- You can slice once all the way down the middle or
- Slice diagonally in short strokes down the hoagie (like you see in the pics)
- Bake with steam for 10 min, and then without for 10 min.
If you have a Dutch oven:
- This means baking in your DO with the lid on for 10 min, and then lid off for 10 min
If no Dutch oven:
- This means you are using the “open bake method,” which just means you are turning your entire oven into a gigantic Dutch oven
- This means baking with a steam tray (hot water in a pan) for 10 min and then take that tray out for 10 min.
Notes
- Brush with egg wash if you want a golden shine.
- The hoagie will not be sour when you nail down your fermentation.
- If you want to take extra measures for it to not be sour, consider using a sweet stiff sourdough starter.


