The Sourdough Sandwich Bread Recipe You’ll Use Forever
Always Reliable Sourdough Sandwich Bread Recipe
Sourdough bread is easier to make than you think!
With this recipe, you can easily whip up a delicious loaf of Sourdough Sandwich Bread right in your own kitchen, without any overwhelming steps. It’s really quite simple straightforward, you’ll see!
This is an easy and delicious Sourdough Bread recipe that will forever be a staple in your kitchen!

Sourdough Sandwich Bread Recipe
Make delicious homemade sourdough bread with this simple recipe perfect for beginners
Print
Everyday Sourdough Sandwich Bread
I haven’t bought sandwich bread in over 7 years because of this sourdough bread recipe! It’s such a staple in my house because even though I make sourdough bread (artisan loaves) everyday, my kids really prefer sourdough sandwich bread. They love it so much, they even eat the crust!
- Prep Time: 4-6 hrs for Starter to get active
- Fermentation Time: 4hr Bulk Proof + 8hr Cold Proof + 4hr Final Proof
- Cook Time: 45 min at 375F
- Total Time: 16-20hrs
- Yield: 1 Sourdough Bread 1x
- Category: Sourdough Sandwich Bread
- Method: Sourdough Baking
- Cuisine: Bread Baking
Ingredients
Scale
- 265g water
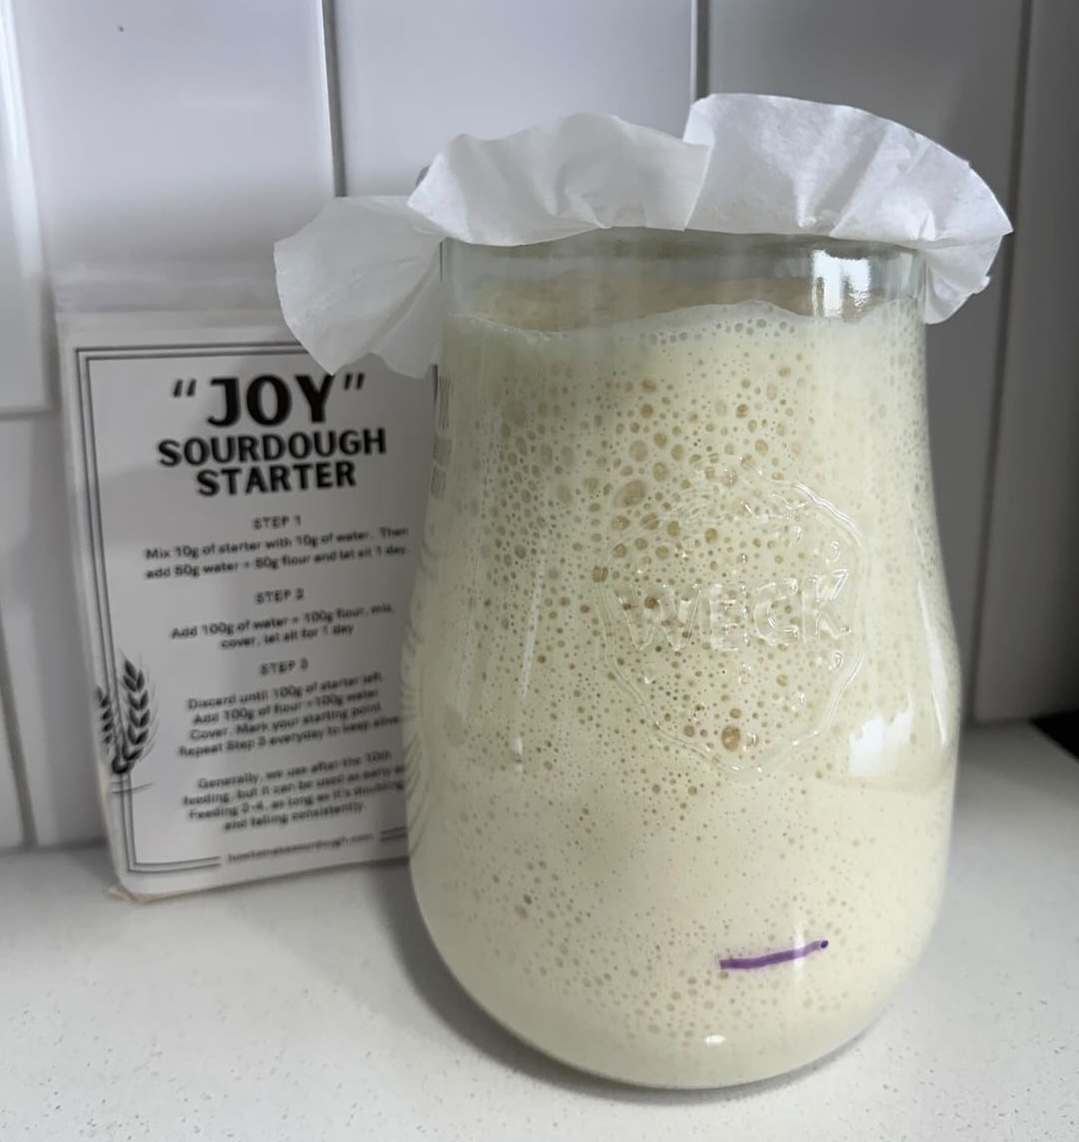
- 100g active sourdough starter
- 1 Tbsp honey
- 500g All Purpose flour
- 7g salt
- 56g stick butter (½ stick)
Instructions
- Feeding your starter – 4-8hrs
- Feed your sourdough starter and use when it’s at peak
- Mixing – 15 min
- To a stand mixer, mix all of the ingredients in the order you see me listing it above
- Takes around 10 minutes on level 2-3 (mixer might be dancing)
- Continue mixing until you have a windowpane
- Bulk Fermentation – 2hrs
- Take the dough out with your plastic bench scraper
- Shape the dough into a taut ball
- Put it in a bowl, cover
- Room temp proof for 2 hrs
- Cold proof – 8-12hrs
- Put the dough in your fridge overnight (roughly 8-12hrs)
- Shaping – 5 min
- Option 1 – normal 1 log
- Shape the sourdough dough by rolling the dough flat into a rectangle
- Then simply roll it up into a log
- Pinch the seam a little
- Place the log into a parchment lined or buttered loaf pan
- Cover lightly so it doesn’t dry out
- Option 2 – cute 3 logs
- Divide the sourdough dough into 3 equal parts
- Roll the dough flat into a rectangle, they should be the width of the pan
- Roll each dough into a short logs
- Pinch the seam a little
- Place the short logs into a parchment lined or buttered loaf pan
- Cover lightly so it doesn’t dry out

- Option 1 – normal 1 log
- Final proof – 2-4hrs
- After shaping, final proof your dough at room temp for 2-4 hours, or until *almost* doubled
- Bake – 40-45 min
- Bake at at 375F for 45 min (start checking on it around 40 min) or until golden on top
Notes
- Swapping ingredients?
- swap butter for coconut oil
- Crust too dull or pale?
- Egg wash the dough before baking
- Conversions
- 1 stick of butter = 113g
- Crust too hard and looks burnt?
- Brush the top of the bread with milk to soften the top
- Too sour?
- use a sweet stiff sourdough starter instead


