Congratulations! You have received my sourdough starter in the mail. Now it’s time to activate it so you can have an active and mature sourdough starter in as little as 2-3 days.
Watch this video first so you get a quick overview on what you’re going to do the next few days:
Step 1 – Day 1
Feeding #1
- Put 10g of dry starter into a jar
- Then add 60g of water, mix
- Then add 50g bread flour, mix
- Cover, mark your starting point
- Let sit 1 day in a warm place
Step 2 – Day 2
Feeding #2
- Add 100g of water, mix
- Add 100g bread flour, mix,
- Cover, mark your starting point
- Let sit for 1 day in a warm place
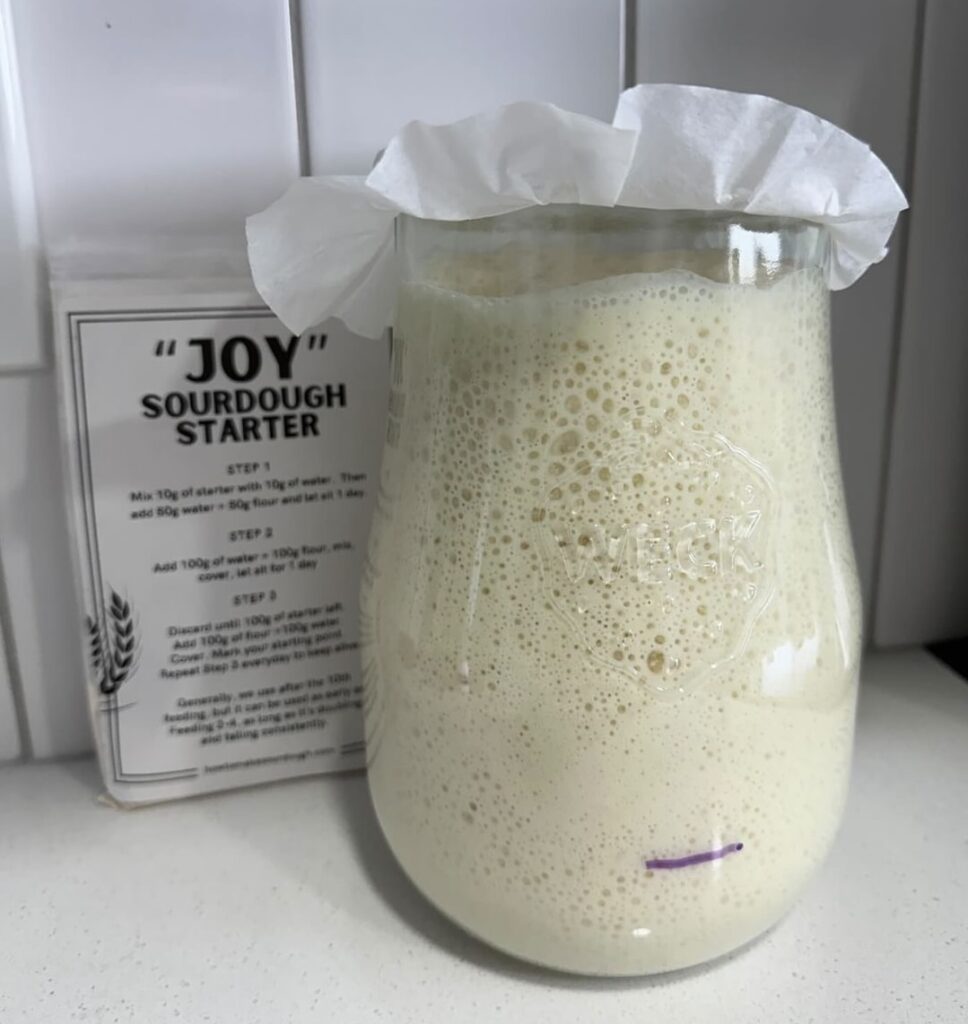
Step 3 – Day 3
By Day 3, your starter should look like this. You can now use this as-is to make sourdough bread. But if you’re not ready, proceed with Feeding #3
Feeding #3
- Take 100g of sourdough starter,
- Add 100g water, mix
- Add 100g flour, mix
- Cover, mark your starting point
- Let it sit for 1 day in a warm place
- Repeat this everyday to keep alive
ATTENTION
Generally, we use our starter after the 10th feeding, but it can be used as early as Feeding 2-4, as long as it’s doubling and falling consistently.
Sourdough Starters 101
Now that you have your copy of my sourdough starter, here are some very helpful links I recommend you go through:
Sourdough Starter Kit
Click on the links individually down below, OR see this kit as a collection on my Amazon Storefront: Sourdough Starter Kit – Sourdough Baking
Sourdough Starter Kit
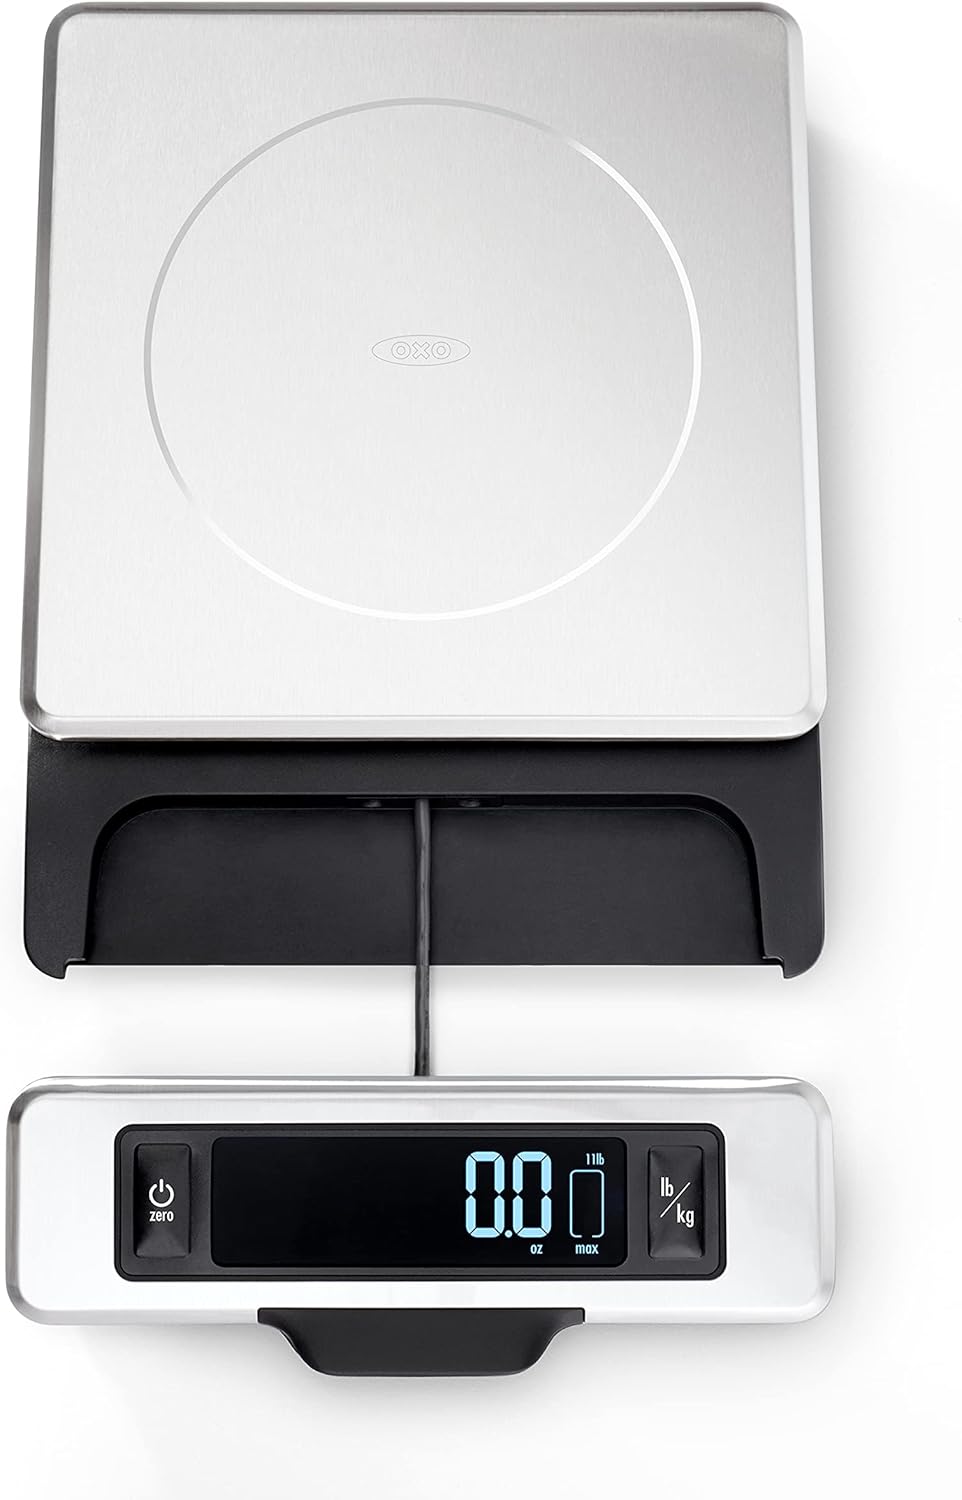
Here are my #1 favorite and preferred tools for Sourdough Starters. These are the winners of three years of comparison shopping, research and testing.

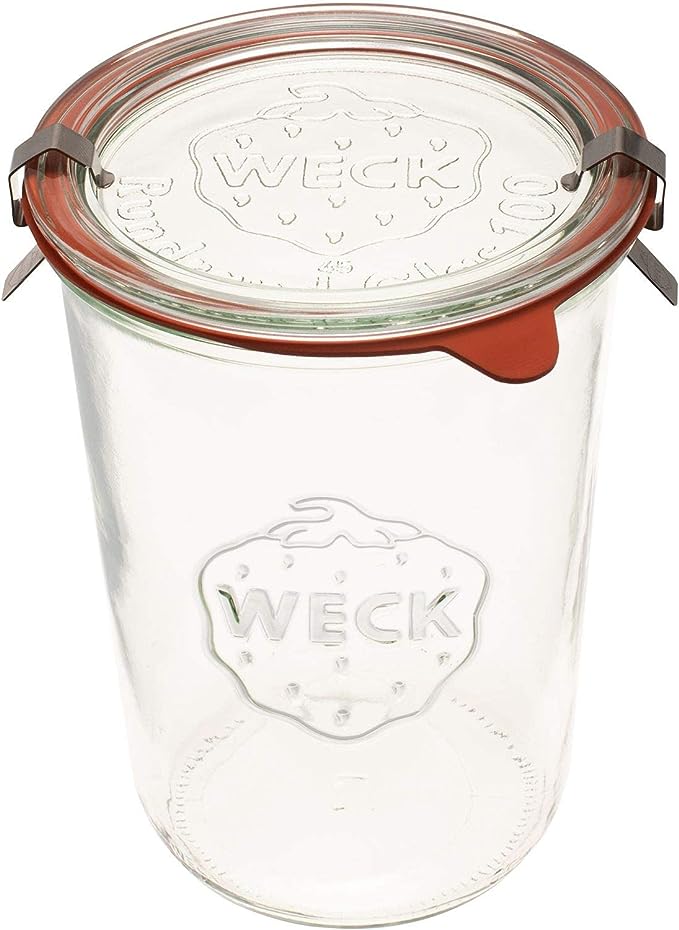
Weck Jars


I’m so impressed with what you’ve done, Roselle! I can’t wait to get started today!