Sourdough Blueberry Bagels
Sourdough Bread Recipe: Sourdough Blueberry Bagels
This sourdough bread recipe is one of my favorites! My FIL requests this every week for breakfast, he loves it so much! I basically adapted my NYC style sourdough bagel recipe to accommodate all the blueberries I’m stuffing into it. DELISH!
- Prep Time: 4-8hrs for the sourdough starter to be ready
- Fermentation Time: 5hr bulk proof + 8-18hr cold proof
- Cook Time: 10min lid on + 10min lid off
- Total Time: 13-23hrs
- Yield: 6 bagels 1x
- Category: Sourdough Baking
- Method: Dutch Oven or Open Bake
Ingredients
280g water
10g salt
20g sugar
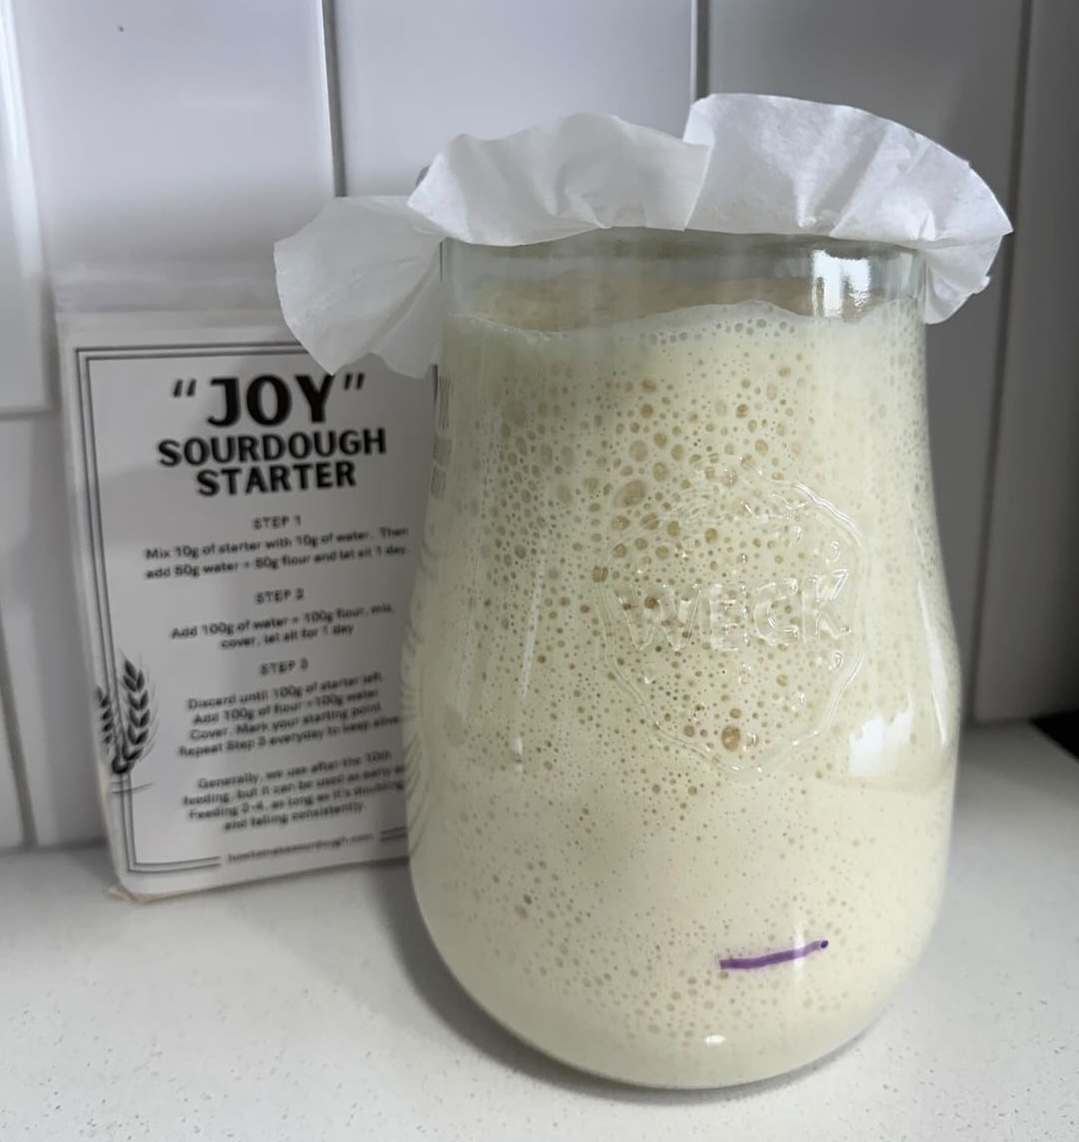
120g Stiff Sourdough Starter (50% hydration –you can use a normal sourdough starter, but it will make the dough a little difficult to shape. The stiffer the starter, the stiffer the dough will be)
500g white bread flour
1 cup or more of roughly chopped up FROZEN blueberries (be careful not to chop it up too much)
Instructions
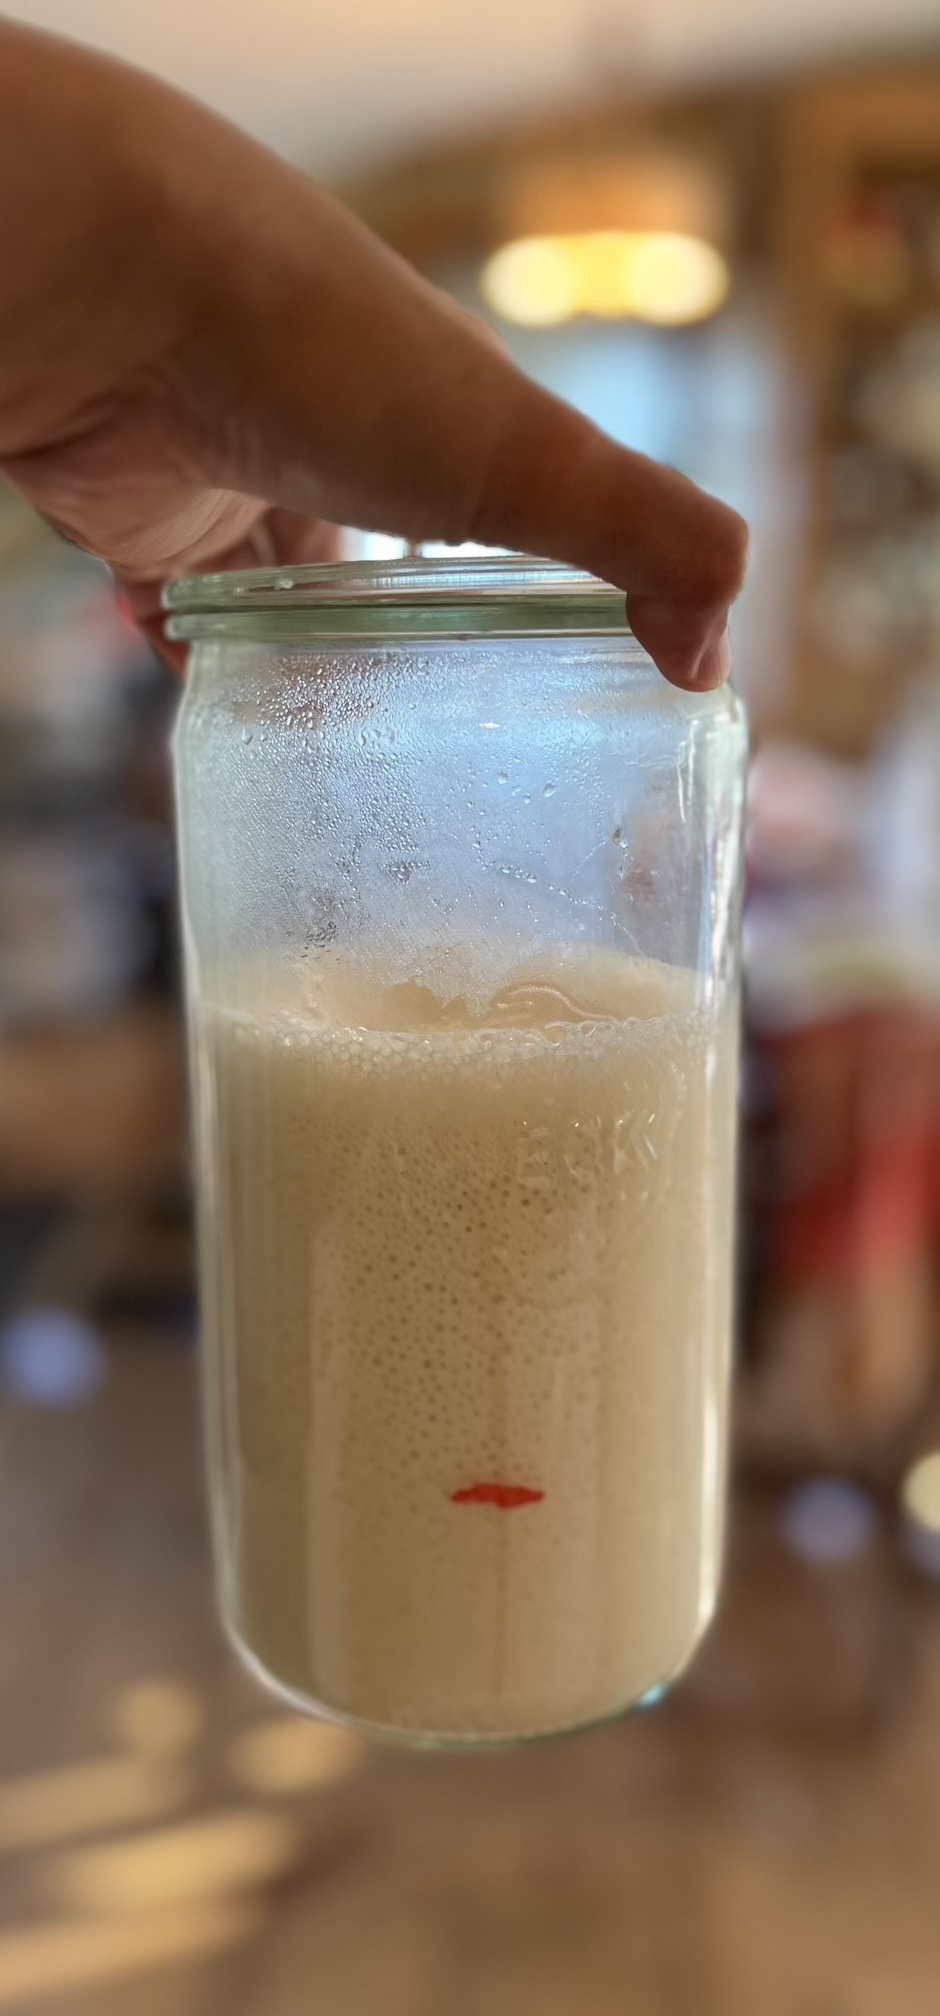
Step 1 – Make a stiff sourdough starter (50% hydration)
- Take 45g of your original sourdough starter
- + 50g of bread flour
- + 25g water
- =120g of stiff sourdough starter that we need in this recipe
Step 2 – Mix the dough ingredients
- In a mixer, mix dough ingredients together
- It’s a really stiff dough, so it will be tough to mix by hand, but doable —just make sure there are no hard clumps
- Add your roughly cut up frozen blueberries last and mix JUST UNTIL it’s incorporated
Step 3 – Bulk Proof/1st Rise
- Dump onto your table and roughly knead into a ball,
- put in a bowl seam side down, cover,
- rest for 5hrs in a 72F room
- calibrate your times if your room is colder or warmer, do your best guess.
Step 4 – Shaping
- Uncover, de-gas (punch down the dough) and divide into 6 pieces.
- Shape into bagels…
What professionals do:
- Roll dough into a log. Place one end on top of the other. With your palm, roll the ends together until they become one.
- I’ve never had success with this (maybe because I’m too much of a novice), I always end up with misshapen bagels
The bagel shaping method I’ve had the most success with:
- The snake eating its own tail method
- Rolling dough into a log.
- Flatten one end of the log.
- Then roll the opposite end of the log little smaller.
- Take the flat end and wrap it around the other end (like a snake eating its own tail)
- Pinch the seams.
- Put bagels on a tray that’s been dusted with cornmeal —this will prevent sticking.
Step 5 – Cold Proofing/2nd Rise
- Cover entire tray with a plastic bag
- put in your fridge for cold proofing,
- min 8hrs, max 18hrs.
Step 6 – Boiling the dough
- Preheat your oven to 475°F (245°C) with convection or 500°F (260°C) without convection.
- Boil water in a WIDE pot. Add 2 Tbsp of molasses. Not too much.
- Put cooling tray next to the pot because you will be placing the bagels immediately there after boiling.
- Take bagels out of the fridge and boil each side of 1 bagel for 30 sec.
- Place on a cooling tray
- Gently transfer the bagels onto your Dutch oven lined with parchment paper
Step 7 – Baking
- Bagels are best baked in 2 parts
- The first part with steam, the second part without to develop the crust.
- The steam helps the dough thoroughly bake before the crust burns.
- You can use your Dutch oven to bake your bagels OR use the open bake method.
- Bake with DO (lid on) at 500F for 10 min.
- Then turn down your oven to 450F, bake with lid off for 10 min.
- Put bagels on a cooling rack for 20ish min. Enjoy.


