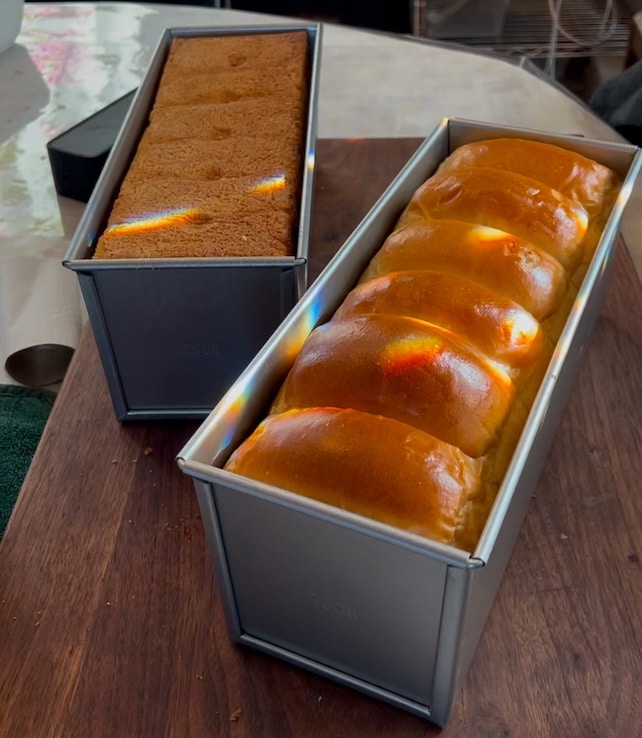
UPDATED: Sourdough Japanese Milk Bread (Shokupan)
Pictures
Sourdough Bread Recipe: Sourdough Japanese Milk Bread
- Prep Time: 6-8hrs for the sourdough starter to come to peak
- Fermentation Time: 4hr room temp proof + 8hr cold proof + 2-4hr final proofing
- Cook Time: 35 min
- Total Time: 24hrs
- Yield: See notes
- Category: Sourdough Baking
Ingredients
Yudane – optional
80g bread flour
64g hot water
Dough
550g bread flour
165g milk
40g water
60g egg white (the whites of 1 large/jumbo egg)
74g sugar
10g salt
100g active sourdough starter
53g butter (I use salted)
Instructions
Step 1 – Preparation
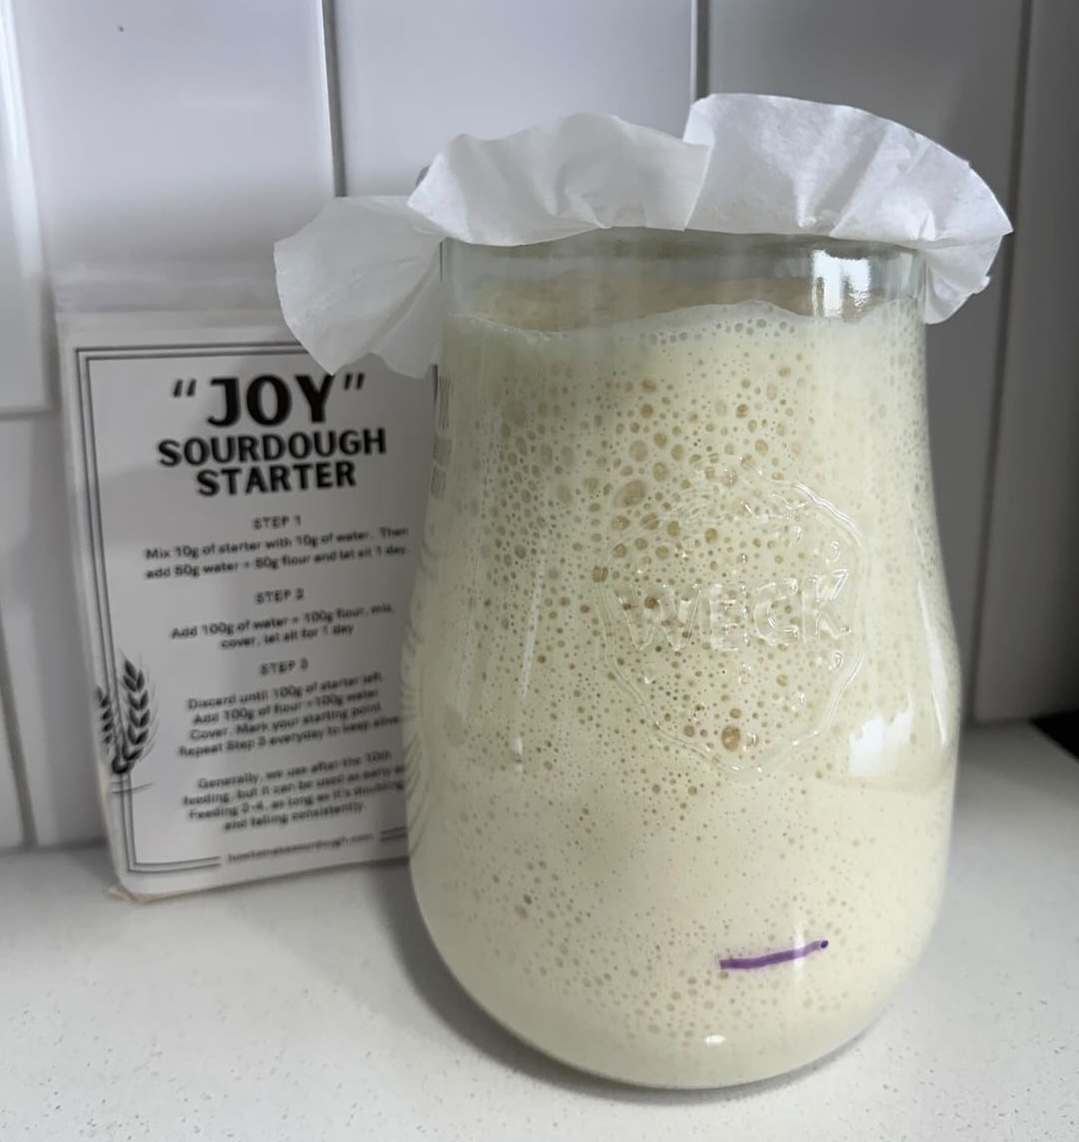
Feed Your Sourdough Starter
Prepare Yudane
- This recipe can be made with OR without the yudane.
- Yudane is basically a bread improver –it will help your bread be lighter, softer, fluffier and moist for longer
- In a bowl, add 80g of bread flour, then pour 64g of boiling hot water, mix
- Let cool, cover, put in the fridge overnight
Step 2 – Mixing
- In your stand mixer, mix dough ingredients (except the butter) until you get a windowpane (mixer at speed 2 for around 10-16 min)
- Then add in the butter. Mix again until you get a windowpane (mixer at speed 2 for around 10-16 min)
Step 3 – Bulk Proof/1st Rise
- Roughly shape the dough into a taut ball and put it in a greased bowl, cover
- Bulk proof for 4hrs at 74F (gauge time if your room is cooler or warmer)
Step 4 – Cold Proof/2nd Rise
- Cold proof in your fridge overnight (~8hrs)
ATTN – Cold proofing is optional. I like cold proofing because the slow fermentation lets flavors develop. It’s normal that it doesn’t rise much or at all in the fridge. The cold halts fermentation. The rule of thumb here is to bake when it’s 80% in size, however long that takes in the fridge or on the counter. My starter leavens this dough with the times I listed above. It may be shorter or longer for you depending on your starter’s strength.
Step 5 – Shaping
- Take out the dough, weigh and divide equally by 6 and shape tautly into buns
- Cover, rest 20 min
- Roll each bun into a rectangle
- Fold the rectangle into thirds like you’re folding a piece of paper to mail (the envelope fold)
- Cover, rest 20 min
- Roll each long into a long rectangle
- Now roll each rectangle like you would a cinnamon roll
- Lift each roll and place into your buttered Pullman loaf pan
- Then put directly onto a buttered 13 x 4 x 4 Pullman Loaf Pan
- Cover
Step 6 – Final Proof/3rd Rise
- Cover lightly because we don’t want it to dry out
- Final proof this for 4-6hrs at room temp (74F),
- or until *ALMOST* double, around 75-80% rise
Step 7 – Baking
- Egg-wash and bake in a pre-heated 350F oven for 35-40 min
Notes
The original version of my recipe called for a sweet stiff starter –though I prefer using this type of starter so that we don’t get any sourness at all, it IS much faster if you use a regular sourdough starter fed at 1:1:1. So I have updated this recipe using that instead.
This recipe at scale 1x will make
- 6 logs in a 13 x 4 x 4 Pullman Loaf Pan, OR
- 3 logs in a 8 x 4 x 4 Pullman Loaf Pan –but it will be VERY high
To make this sourdough bread in an 8 x 4 x 4 pan with a normal height, please make this recipe at ½ the scale –in other words, divide this recipe in half
Pictures