Your Recipe Says 500°F. Your Loaf Is Pale. Here’s What’s Actually Wrong.
Here’s the thing: you set your oven to 500°F. You followed every step. And your sourdough came out looking like it barely baked.
Here’s what happened: your oven lied to you.
Here’s the thing: that dial on the front is a suggestion. Consumer ovens run 25 to 75 degrees off from what they display. At sourdough baking temperatures, that gap changes everything.
This is the part most sourdough guides skip. They tell you what temperature to bake sourdough bread at. They don’t tell you how to make sure your oven actually hits it.
I baked 2,973+ loaves testing every variable so you don’t have to. Temperature was one of the biggest.
You’ll learn the exact two-phase method, how to verify your oven’s real temperature, and what to do when things go wrong. One approach. The one that works.
After 2,973+ loaves and teaching 459+ home bakers, I’ve learned that sourdough success isn’t about following the perfect recipe
— it’s about understanding the method behind it.”
How to Bake Sourdough Bread: The Two-Phase Temperature Method
You don’t need five different approaches. You need one that works every time. Here it’s.
Phase 1: Covered at 500°F (260°C) for 20 Minutes
Put your dough into a screaming-hot Dutch oven and close the lid.
Your lid traps steam released by your dough. That steam keeps your crust soft and stretchy during the first 10-15 minutes. This is when your oven spring happens. Your dough hits that blast of heat and rises fast.
If you pull the lid too early, you lose that steam. No steam means your crust sets before your dough can fully expand. You’ll end up with a flat, dense loaf with a pale surface.
Don’t peek. Set your timer. Walk away.
Phase 2: Uncovered at 450°F (230°C) for 20-25 Minutes
Now you take the lid off. You drop the temperature.
Moisture escapes from your loaf. Your crust starts to set, brown, and develop that crunch you’ve been chasing. This is where your color happens.
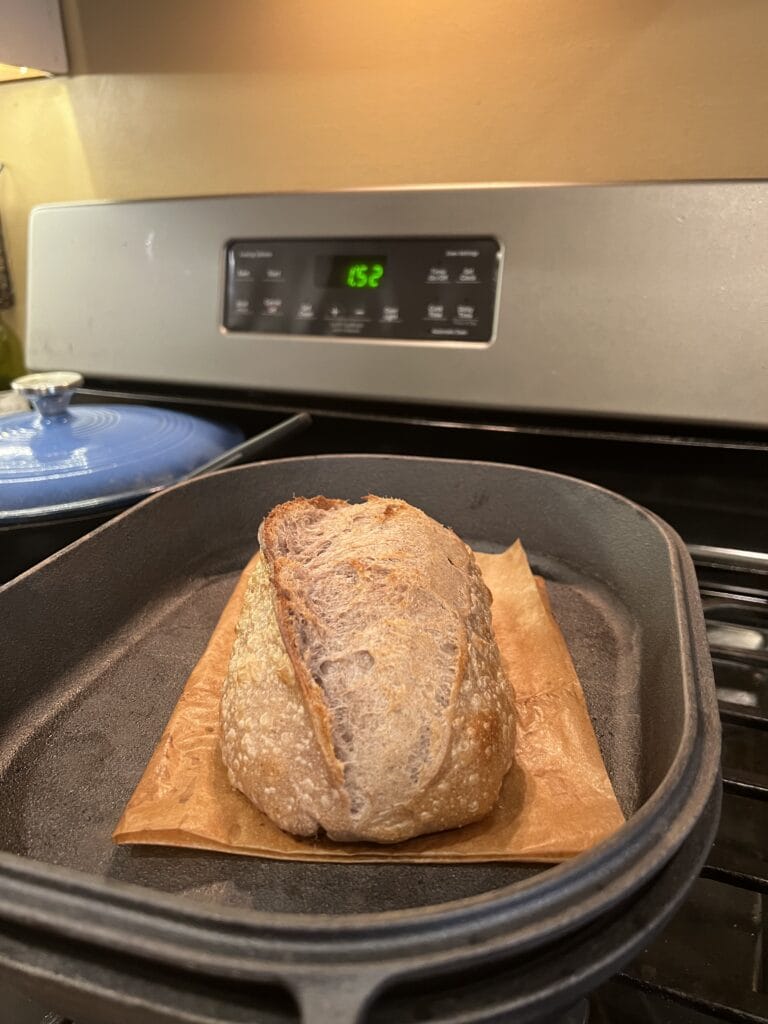
Here’s what matters: your bread is done when the internal temperature reads 200-210°F (93-99°C). Stick an instant-read thermometer through the bottom of the loaf. Don’t trust color alone.
I learned that the hard way in my 27×30 inch kitchen. Beautiful dark crust, gummy crumb. Three loaves in a row before I bought a $12 thermometer and realized my oven was running 40 degrees cold. That one buy changed everything.
The dial is a guess. The thermometer is the truth.
Why Your Home Oven Temperature Is Probably Wrong
Here’s the truth most baking sites won’t tell you: your home oven is wildly inaccurate at high temperatures.
Your oven says 500°F. Your actual air temperature inside could be 450°F. Or 540°F. You have no way to know without checking.
When your oven runs cold:
- Pale, soft crust instead of deep brown
- Flat loaf because oven spring needs that initial blast
- Longer bake times that dry out the crumb
When your oven runs hot:
- Burnt crust before the inside finishes baking
- Dark outside, doughy inside
- Scorched bottom
Your fix costs $10-15. An oven thermometer. Not optional. Essential for you. Hang it from your middle rack and you’ll know exactly what you’re working with.
Once you know your gap, you compensate. If your oven runs 30 degrees cold, you set it to 530°F to actually get 500°F inside. Your problem is solved forever.
Let me save you the frustration of wondering why your bread looks different every time: it’s almost always the oven, not you. Your kitchen isn’t the problem. The advice you’ve been following is.
How Long to Preheat Your Dutch Oven for Sourdough
Don’t rush this step. It’s the one most beginners skip, and it shows.
You need a minimum of 45-60 minutes of preheat time with your Dutch oven inside. Here’s why: your air heats up fast. Your cast iron doesn’t. That heavy pot needs time to absorb and hold heat so it radiates evenly from all sides.
If you only preheat for 20 minutes, your air is hot but your pot isn’t. Your dough needs heat from the bottom, sides, and lid simultaneously.
Here’s what I do: I turn on the oven with the Dutch oven inside a full 60 minutes before I’m ready to bake. Every time I’ve rushed this, I’ve gotten uneven results.
If you’re baking at high altitude (3,500+ feet), reduce your temperature by 25°F and rely on the internal thermometer for doneness. Color lies at altitude.
Common Sourdough Baking Temperature Problems (And How to Fix Them)
My bread looks done outside but is gummy inside
Your internal temperature didn’t hit 200-210°F. Add 5 more minutes to your uncovered bake time. A dark crust on your loaf doesn’t always mean your crumb is done. This is why your thermometer matters more than your clock.
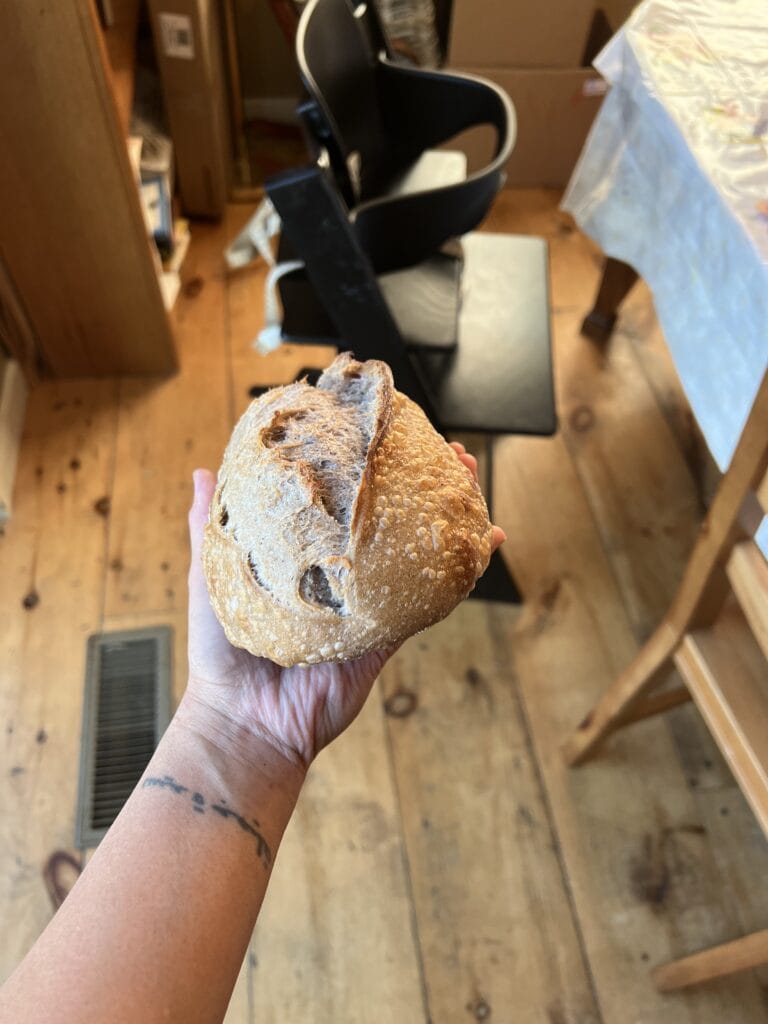
My crust is pale and soft instead of dark and crackling
You pulled it too early, or your oven is running cold. Check your oven thermometer. If your temperature is accurate, give your loaf 5-10 more minutes uncovered.
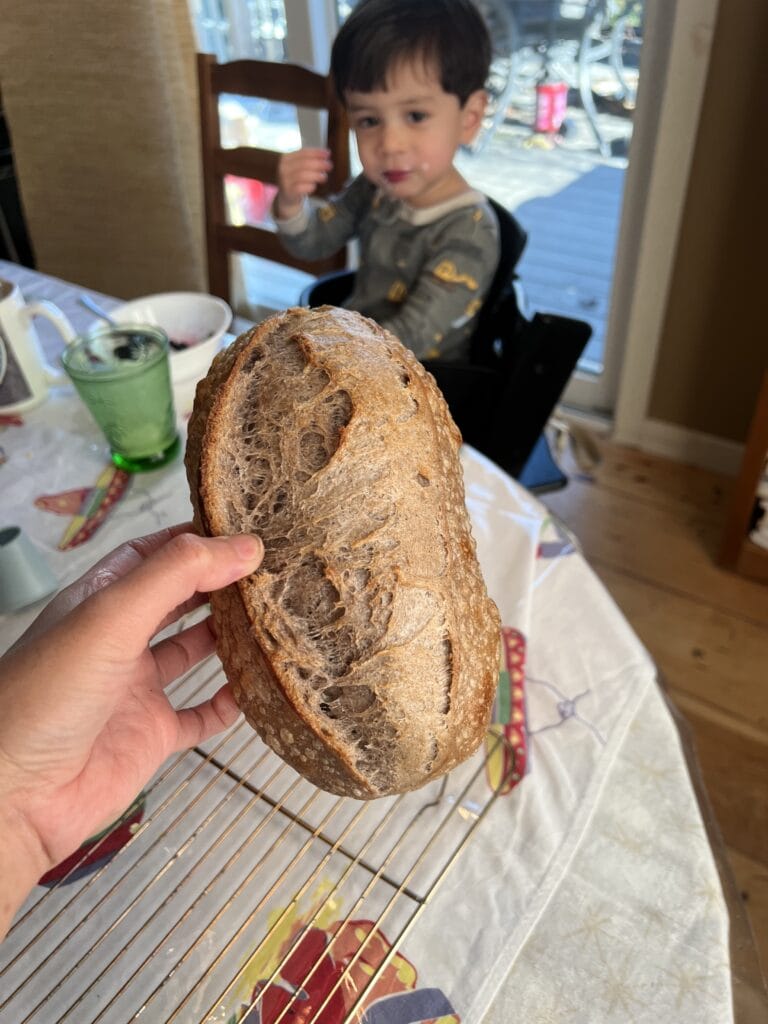
Here’s why this works: you want deep golden-brown to dark brown. If your bread is pale, your crust will lose its texture within hours.
My bread is burning on the bottom
Here’s what matters: your oven has a strong bottom element. Move your rack up one position. Place a second sheet pan on the rack below your Dutch oven to buffer the direct heat from hitting your loaf.
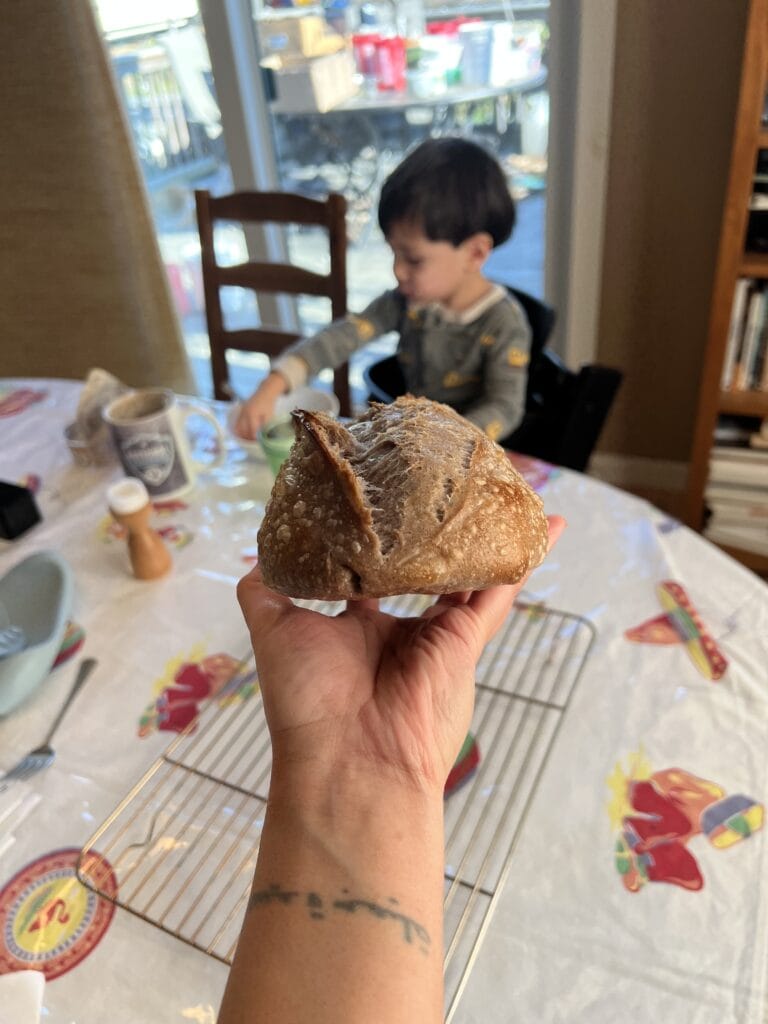
The score didn’t open and the bread looks squat
Two possible causes. Your oven wasn’t hot enough for proper oven spring. Or your dough was overproofed before you put it in. Make sure your Dutch oven actually reached temperature with a full 45-60 minute preheat.
Once you understand why these problems happen, you can fix any of them on the fly. That’s the difference between following a recipe and understanding the system.
Want to Stop Guessing and Start Baking With Confidence?
Now you know the temperatures. 500°F covered, 450°F uncovered, and an oven thermometer to verify your oven actually hits those numbers.
But here’s what I’ve learned after baking 2,973+ loaves testing every variable: knowing the right temperature is one piece. What do you do when your dough is ready an hour before you planned to bake? What if your oven runs hot and the crust is scorching while the crumb is still raw?
You can’t solve those problems with a temperature chart. Those are timing and adaptation problems, and they’re the difference between following one method and understanding the full system.
That’s the difference between knowing one method and understanding the full system. The FLEX Sourdough System teaches you the principles behind every baking decision, and Bread ASAP is your fastest way in. Instead of collecting random tips, you’ll learn how all the variables connect so you can adapt on the fly. It gets you from raw ingredients to your first real sourdough loaf in 7-10 days.
Inside Bread ASAP, you’ll learn:
- How to calibrate and adjust for your specific oven
- What every stage looks like on video so you can compare your dough to mine
- How fermentation, temperature, and timing connect to each other
- What to adjust when something looks wrong mid-bake
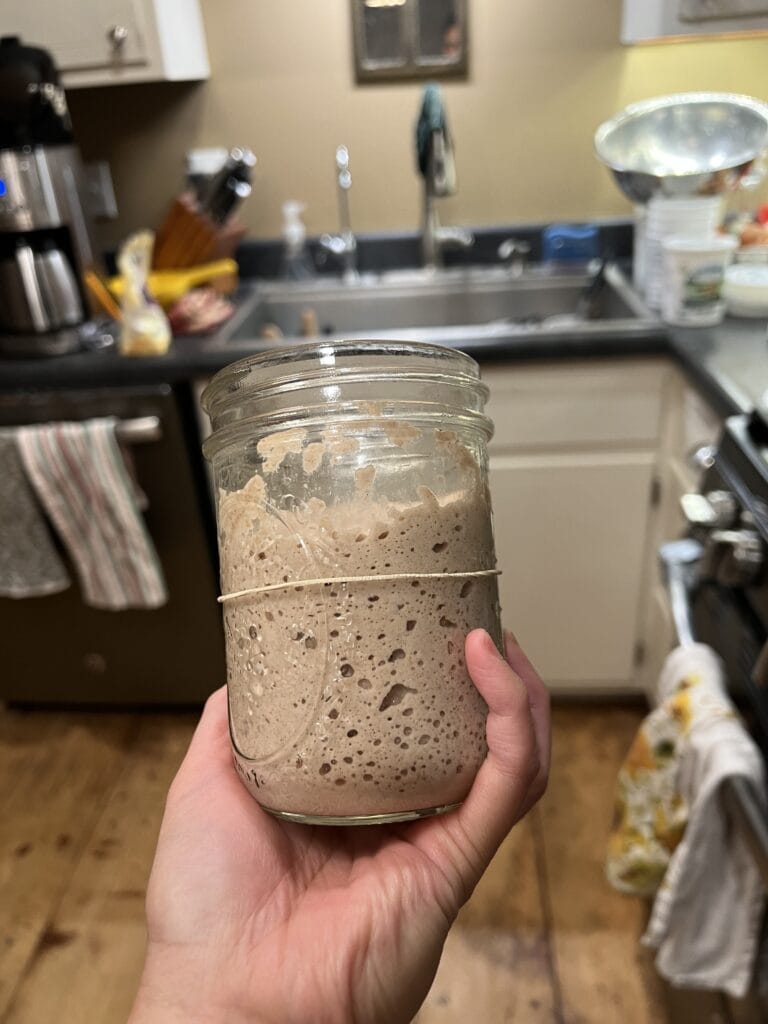
- The starter readiness signs so you know your dough is ready before it goes in the oven
Stop guessing at your oven and start understanding it. Get Bread ASAP for $47 — 60-Day Bake Or Don’t Pay guarantee.
Not ready for the full class? Start with the Proven Starter ($19.99). It ships dehydrated, survives any transit conditions, and wakes up in two feedings. A great oven means nothing without a strong starter.
Or join the free Skool community and ask 126+ home bakers what’s working in their kitchens right now.
Frequently Asked Questions About Sourdough Baking Temperature
What Temperature Do You Bake Sourdough Bread in a Dutch Oven?
How Long Do You Preheat a Dutch Oven for Sourdough?
How Do You Know When Sourdough Bread Is Done Baking?
I’ve pulled plenty of dark-crusted loaves that were gummy inside. The thermometer tells the truth.
Why Is My Sourdough Bread Pale Even at 500°F?
Once you know the gap, adjust your dial to compensate. If your oven runs 30 degrees cold, set it to 530°F to actually hit 500°F.
Do I Need to Lower the Temperature Halfway Through Baking?
You’ve Got This
You don’t need a fancy oven. You don’t need professional equipment. You need your temperatures right, your Dutch oven preheated, your oven thermometer in place, and 45 minutes of your patience for preheating.
Now go bake your bread. Don’t overthink this. You’ve got everything you need.
For the full beginner walkthrough, read How to Make Sourdough Bread for Beginners. To plan your bake day from start to finish, check out the Sourdough Bread Baking Timeline. And if your loaf came out dense, here’s why.
When you’re ready to understand the full system behind the temperatures and timing, Bread ASAP is here.
Happy baking — Roselle
What temperature does your oven actually run at? Drop a comment. If you’ve got an oven quirk that tripped you up, I’d love to hear about it.