Making Gluten-free sourdough is so easy, it’s crazy.
In fact, it’s actually following the “no-knead” or “overnight” method:
You mix everything together, shape, wait and then bake. Done.
Gluten Free Sourdough Bread Recipe
For this GF Sourdough Bread tutorial, we’re going to use my GF Sourdough Bread Recipe Version 1.0 –it’s most similar to whole wheat sandwich bread.
Follow the steps below…
Ingredients / Dough Composition
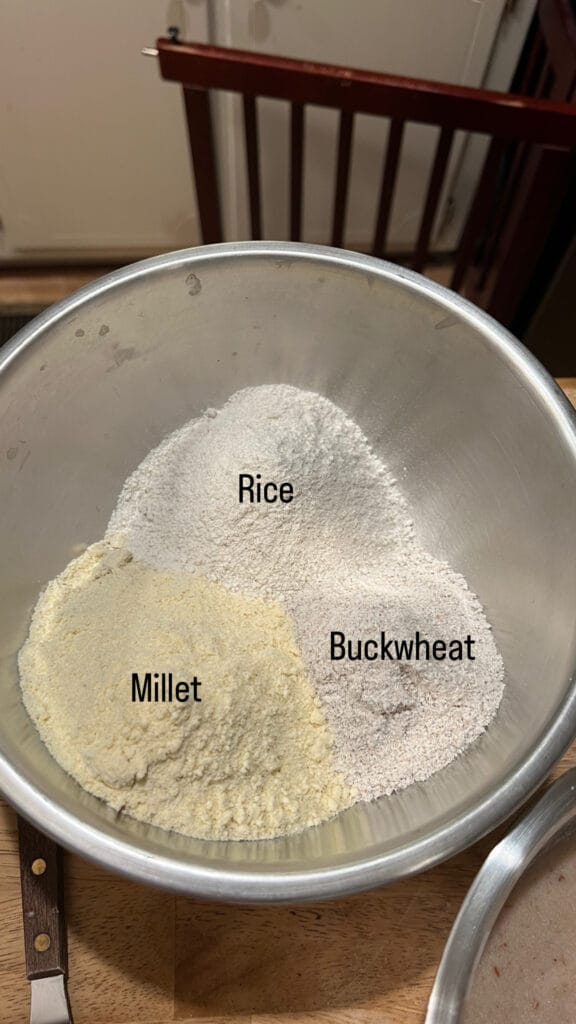
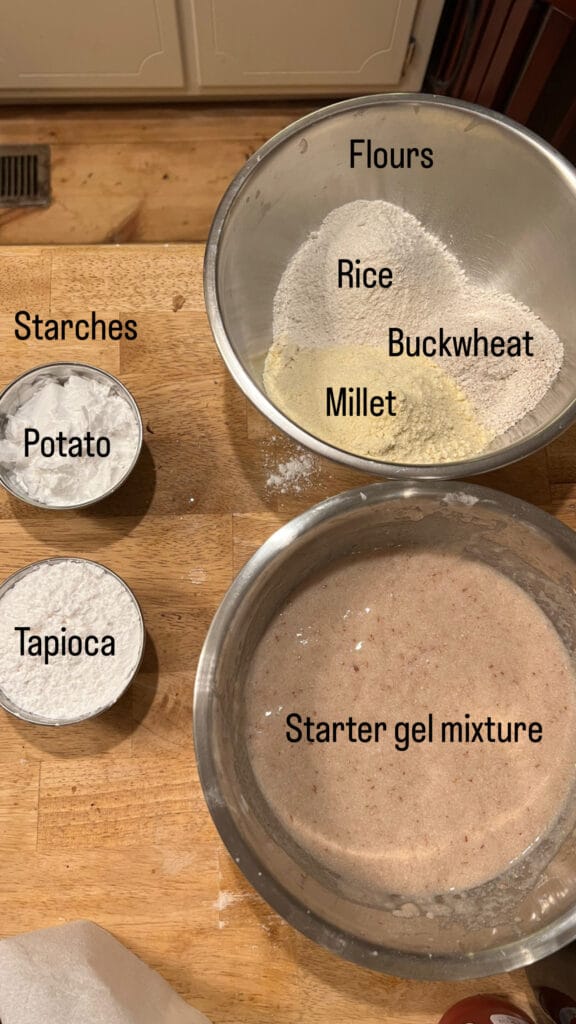
Flours
| Percentages | Ingredients | Measurements |
| 19% | Rice | 100g |
| 28% | Millet | 150g |
| 19% | Buckwheat | 100g |
Starches
| Percentages | Ingredients | Measurements |
| 14% | Tapioca | 75g |
| 14% | Potato | 75g |
Other Dry Ingredients
| Percentages | Ingredients | Measurements |
| 2% | Salt | 10g |
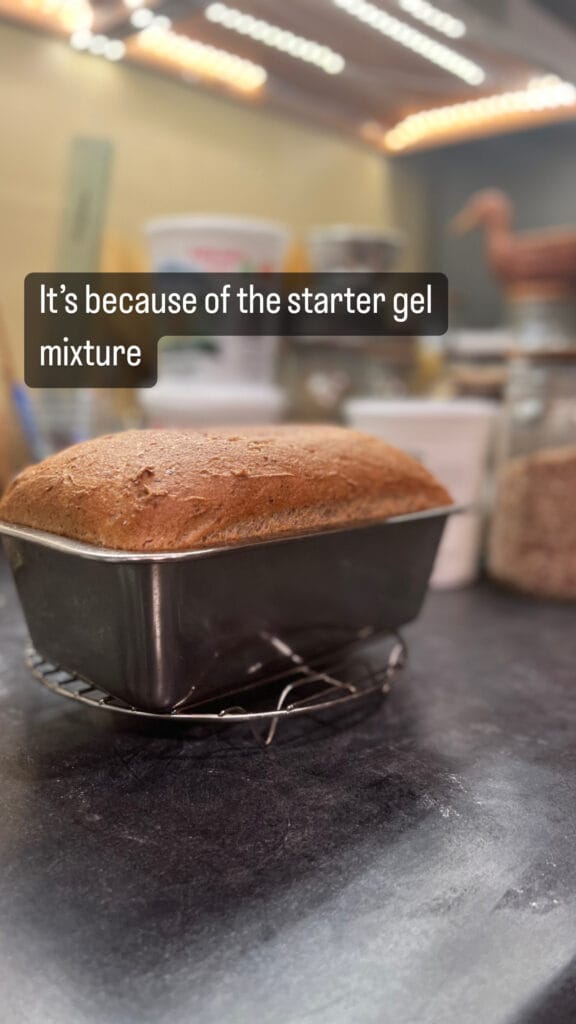
Starter Gel Mixture
| Percentages | Ingredients | Measurements |
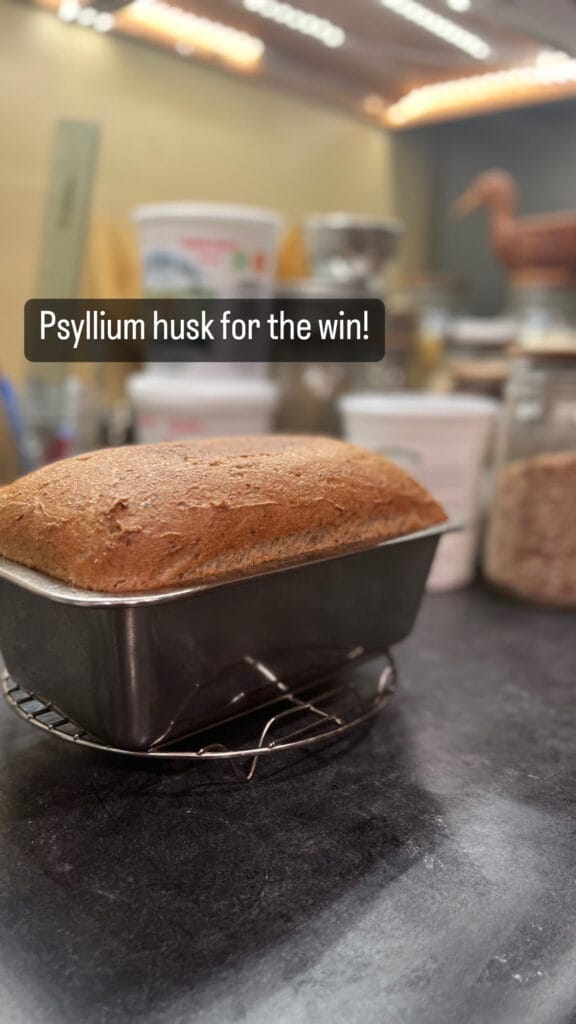
| 4% | Psyllium Husk | 20g |
| 2% | Ground Flax Seed | 10g |
| 37% | Gluten-free starter | 200g |
| 100% | Water | 540g |
Stage 1 – Preparation
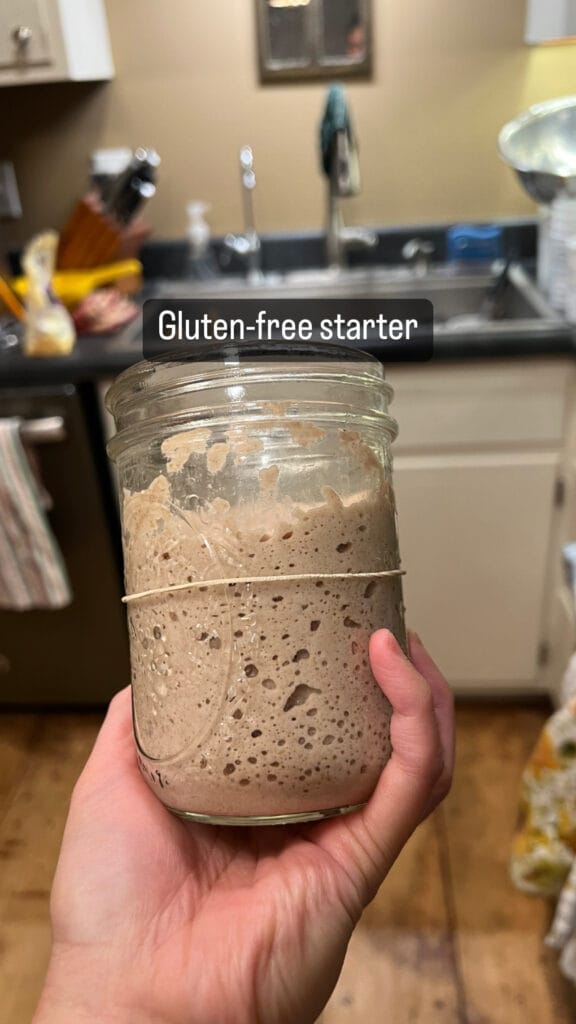
Step 1 – Prepare your starter
Make sure you’re using a very active gluten-free starter, you might need to feed it 3x before using it.
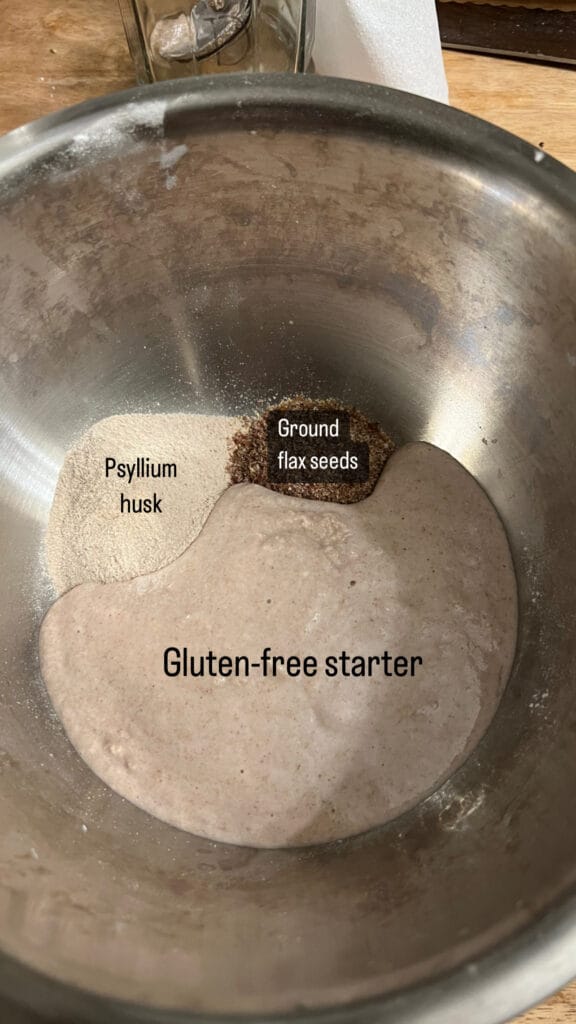
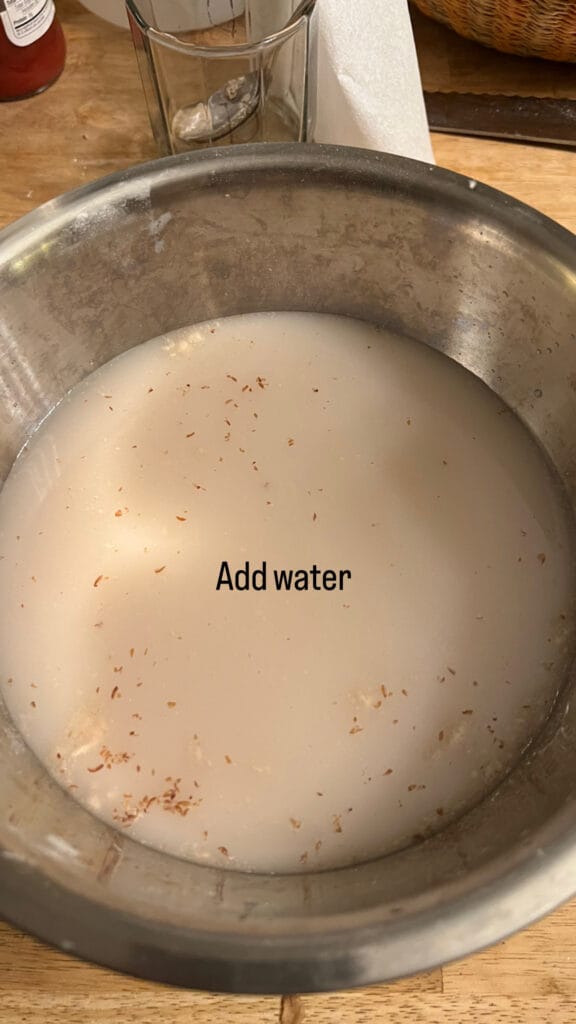
Step 2 – Prepare your starter gel mixture
Mix all the ingredients very well.
It helps if you use a stick blender.
Work quickly, both psyllium husk and flaxseed gel pretty fast.
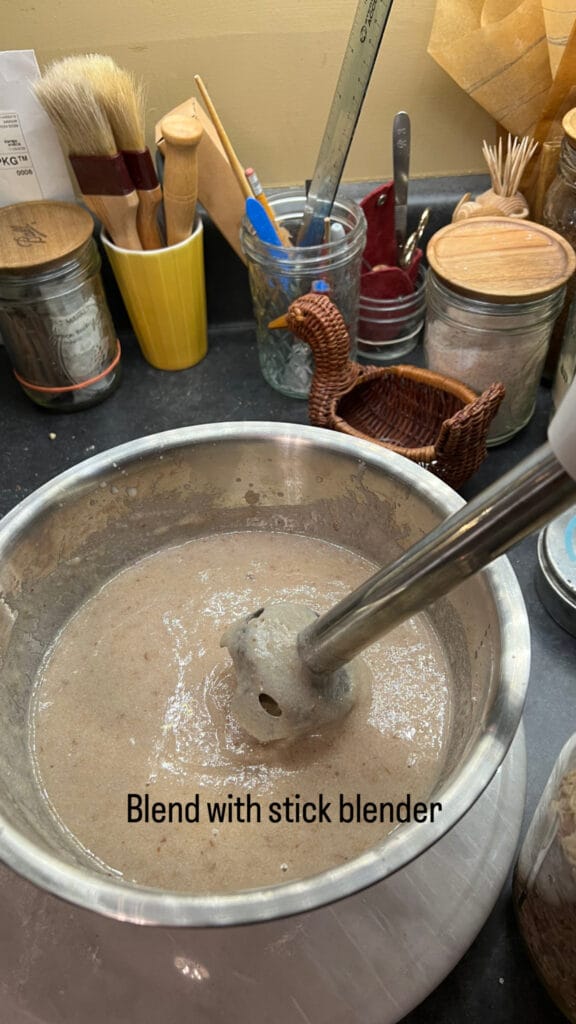
Do I need a stick blender?
You want to mix this as evenly as you can. That’s why I use a stick blender. A regular blender is good too.
When I didn’t use a blender, the starter gel came out sooooo clumpy. I gave up breaking up the clumps and proceeded anyway. It’ll still work, but you wont get the best outcome.
The blender (stick or regular) also adds air into the starter gel mixture, so that’s always a good thing with anything gluten-free.
Step 3 – Prepare your dry ingredients
Mix all of your dry ingredients together.
Watch out for the starches, they tend to clump together and jump out of their containers, so be careful dumping them into your bowl.
Also, remember the salt!
Stage 2 – Bulk Fermentation
Step 1 – Mix your dry ingredients into your wet
Combine everything, making sure there are no dry clumps of flour.
I mix in a big stainless steel bowl, using a plastic bench scraper to “chop in” the dry flour into hydrated dough.
Step 2 – Knead the dough
There will come a time where it wont mix together comfortably in your bowl anymore, so flip the whole thing out on your counter.
Knead the dough by folding it into itself a few times.
Then, leave it alone for 30 min.
Step 3 – Shape your dough, oil your pan
Shape the dough into a log by folding it into itself a few times.
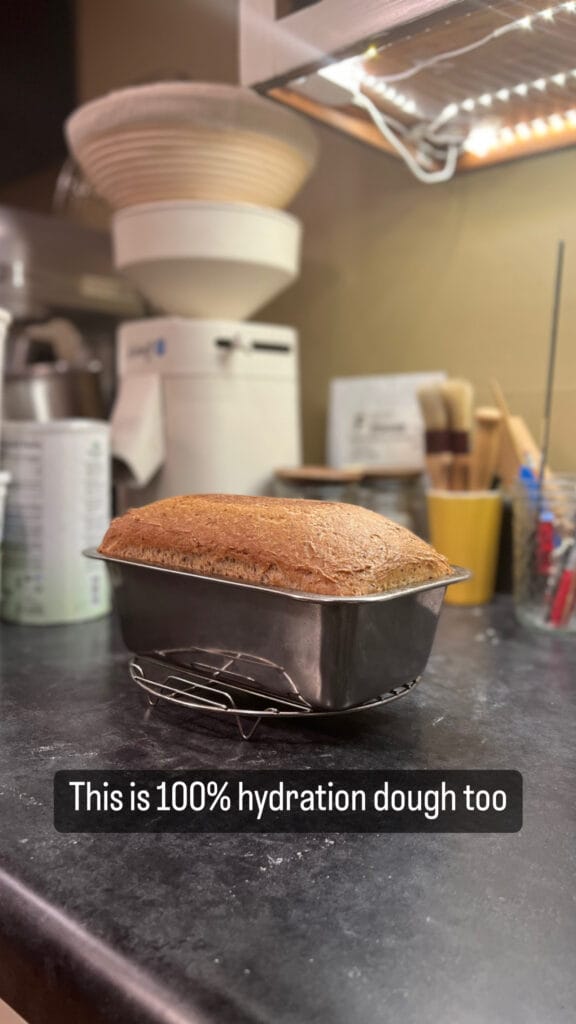
It will be incredibly sticky —it’s a 100% hydration dough, after-all, so you want to work fast.
And it’s helpful if you wet your hands while you’re doing this.
Just follow what I’m doing in the video. Let me know in the comments below if you I should upload a video of me doing it in real time.
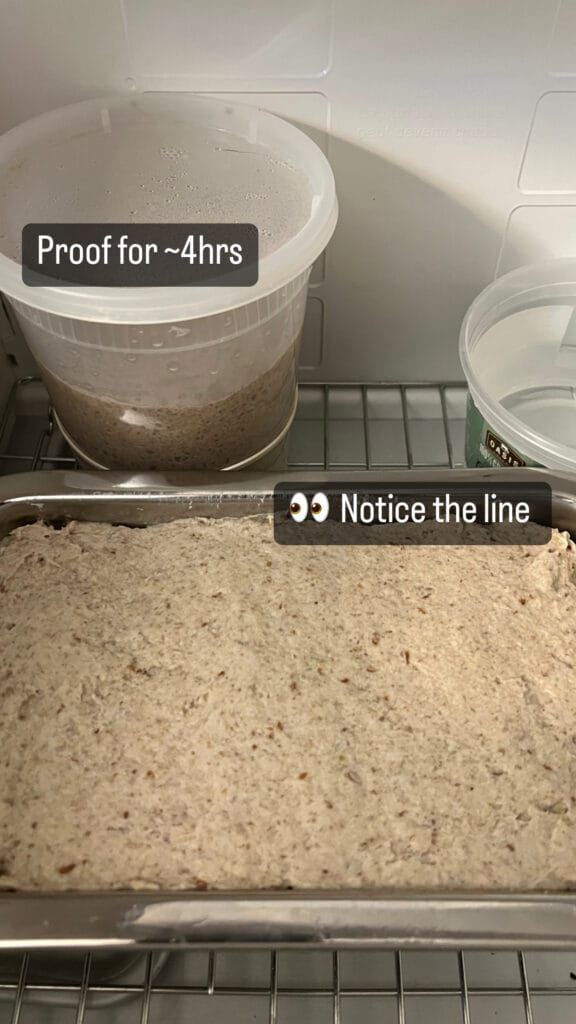
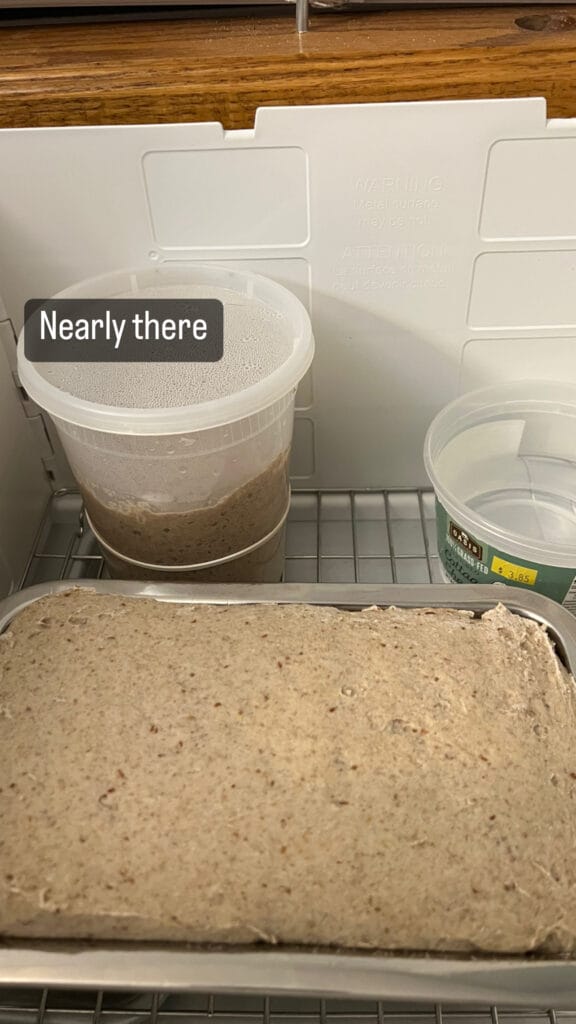
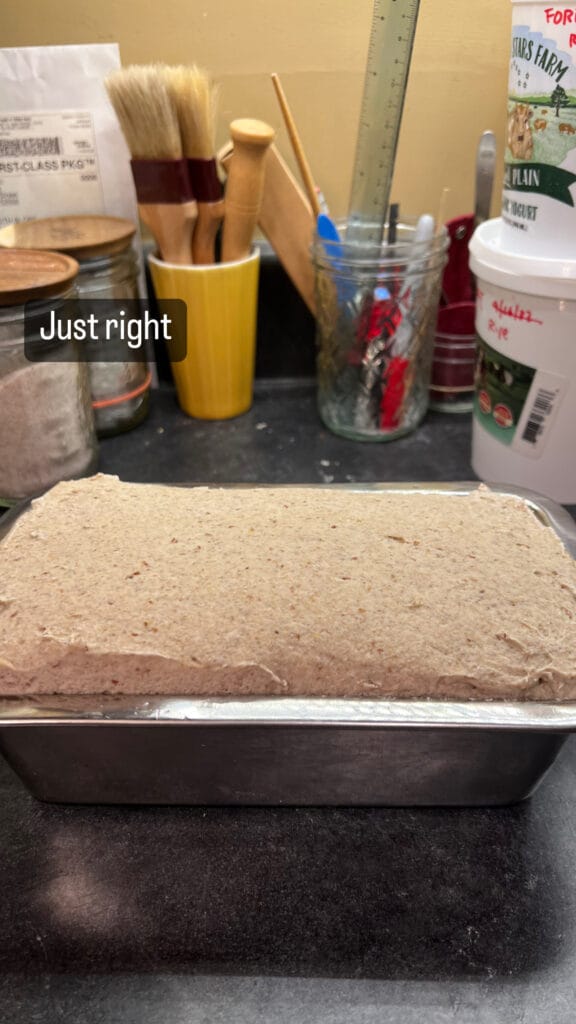
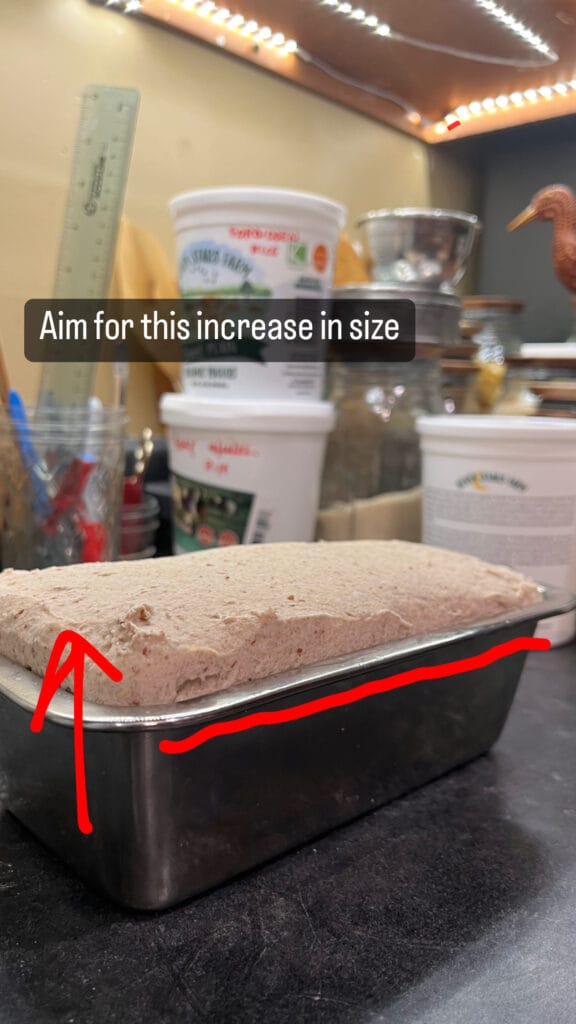
Step 4 – Proof your dough ~4 hrs
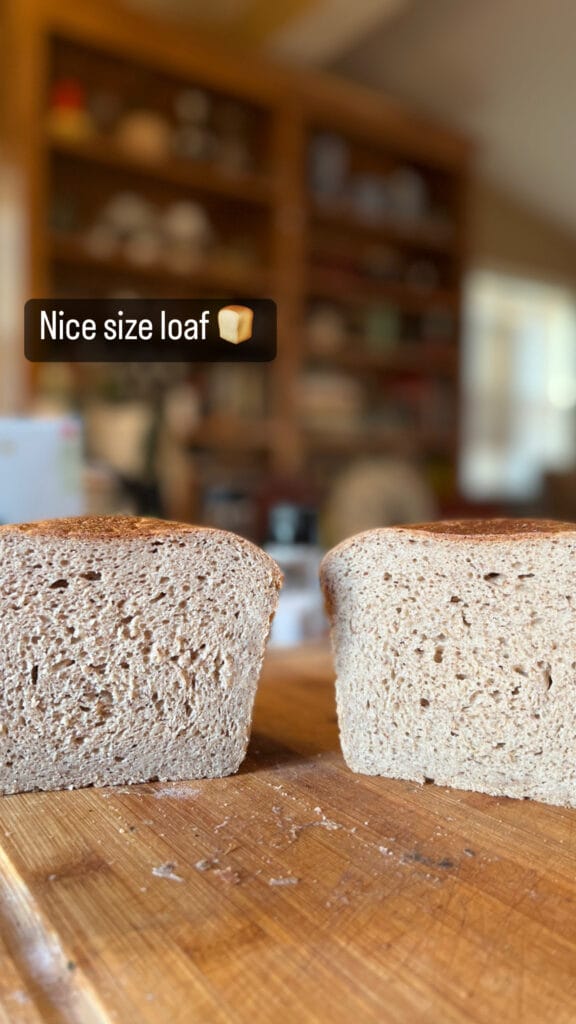
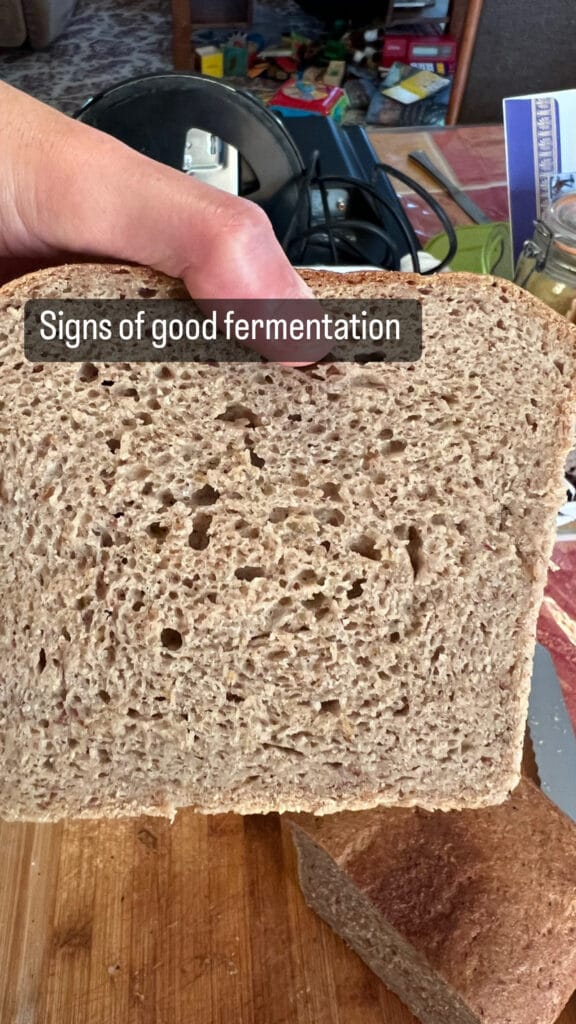
Gluten-free sourdough ferments rapidly.
You’re not looking for double the volume. You only want a slight increase in size. In a 70F room, this takes me around 4-5hrs —this is a ballpark time frame!
If it’s colder, it’ll take longer. Shorter if warmer.
Take note of the pictures and captions below…
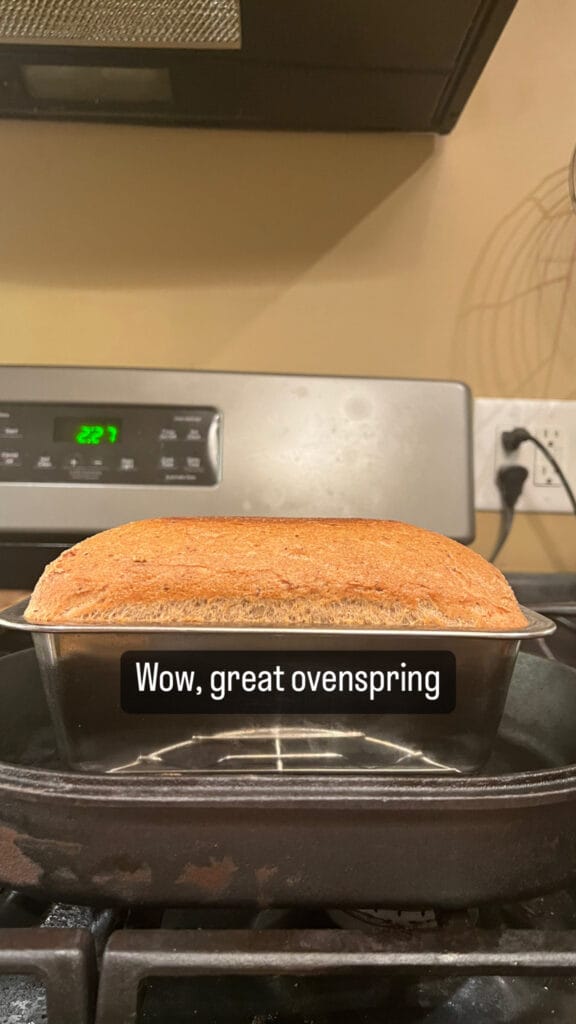
Stage 3 – Baking Time
Okay, it’s baking time!
Notice what I’m doing here in this video.
Everything about the baking process is intentional.
I’m baking in a dutch oven because I need a great conductor of heat and I need to trap in steam.
The steam stops the crust from cooking, hardening and burning before the dough can cook thoroughly.
Steam helps the dough cook more evenly.
I’m putting my loaf pan on a rack inside my dutch oven because I don’t want to burn the bottom. The dutch oven is a mini oven, rack and all.
I’m spraying the surface of the dough with water and adding ice cubes on the bottom of my dutch oven because I want to increase steam.
Steam, steam, steam.
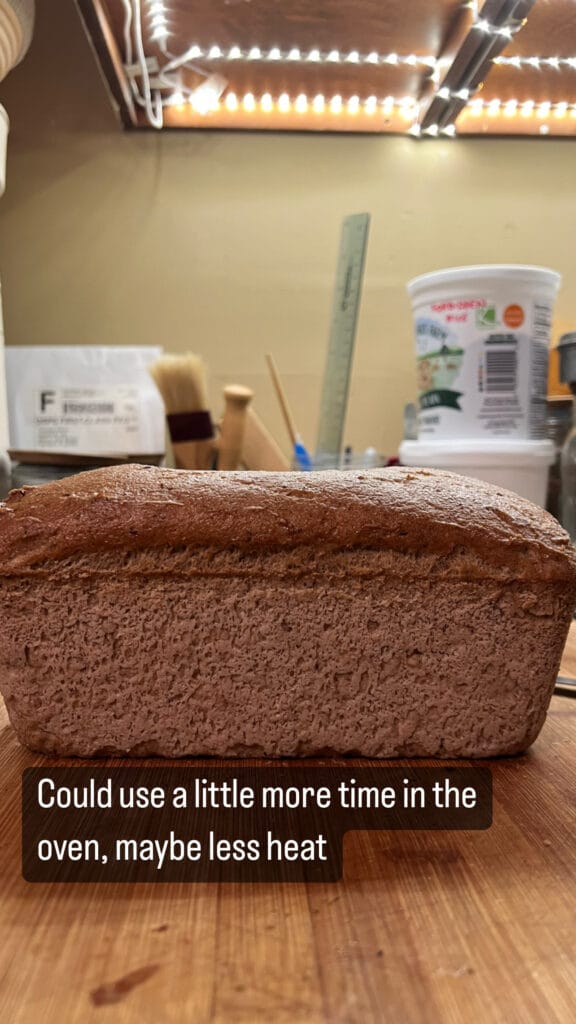
Bake this at 425F for roughly 45-50 minutes.
I helps if the dutch oven is screaming hot, so if you have time, pre-heat your oven with your dutch oven inside, for at least 1hr.
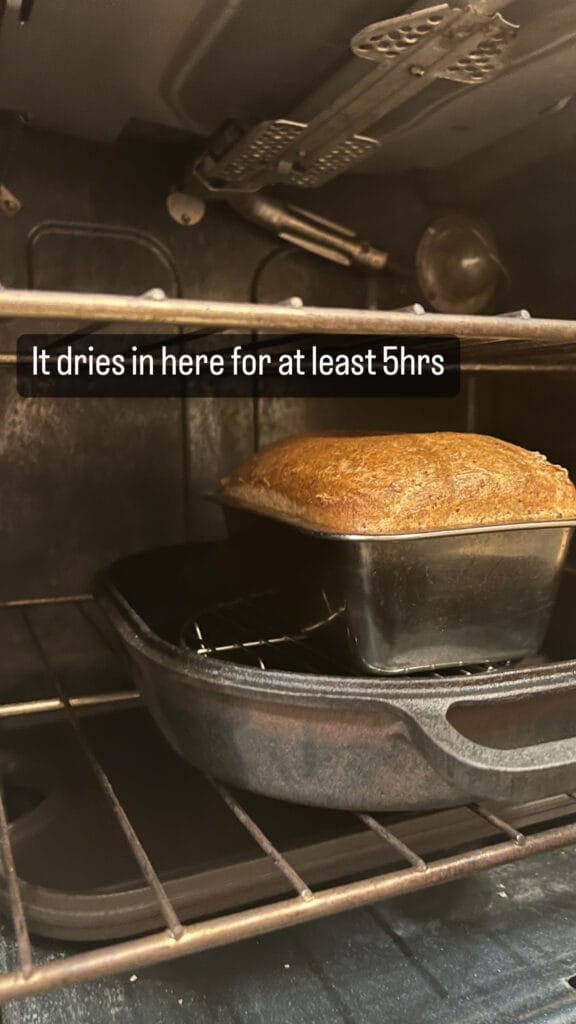
NOTE: It’s best to let this dry out for at least 2hrs if not more, out on your counter or in your oven. If you cut into this too soon, then your bread might be a little dense.
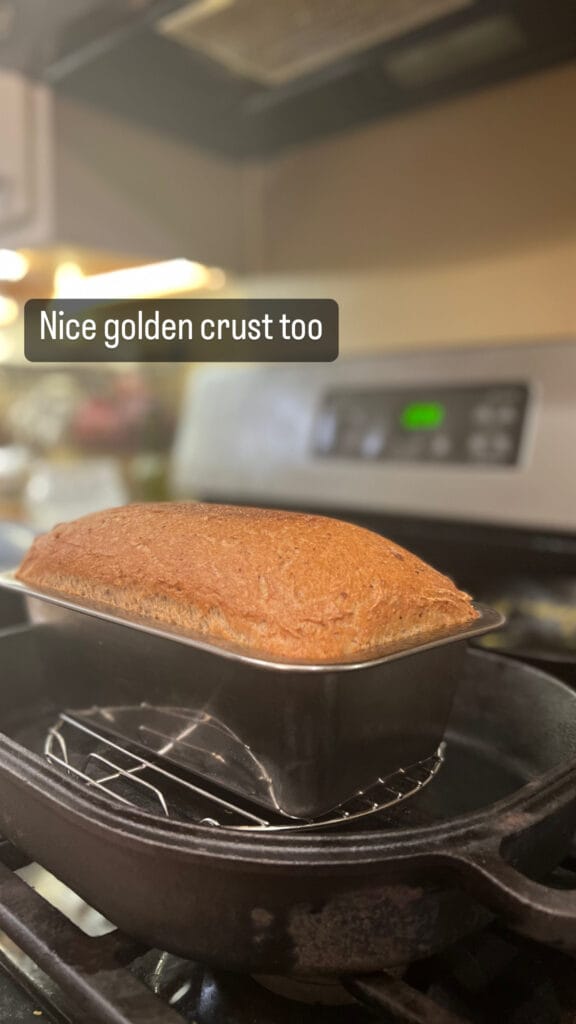
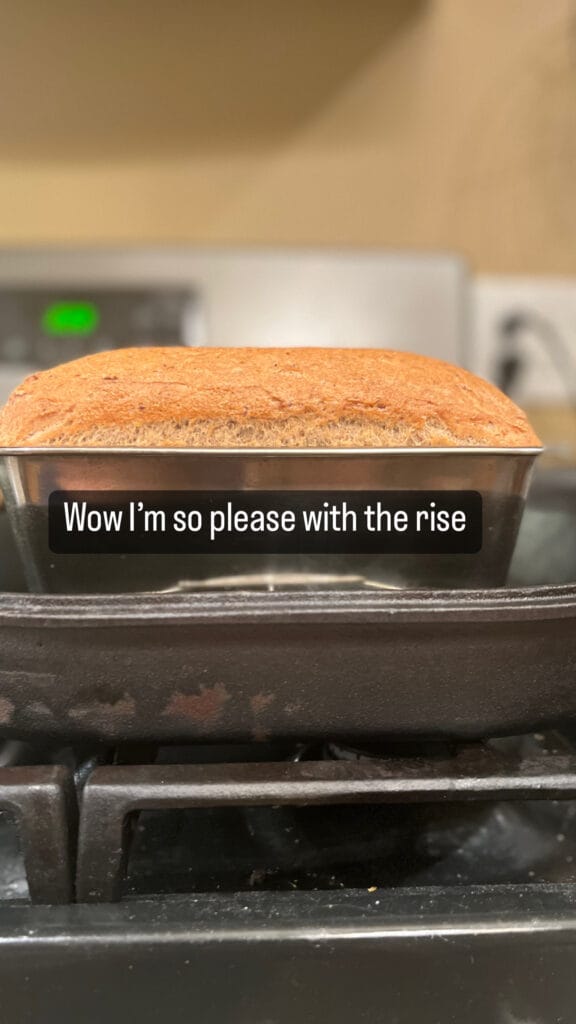
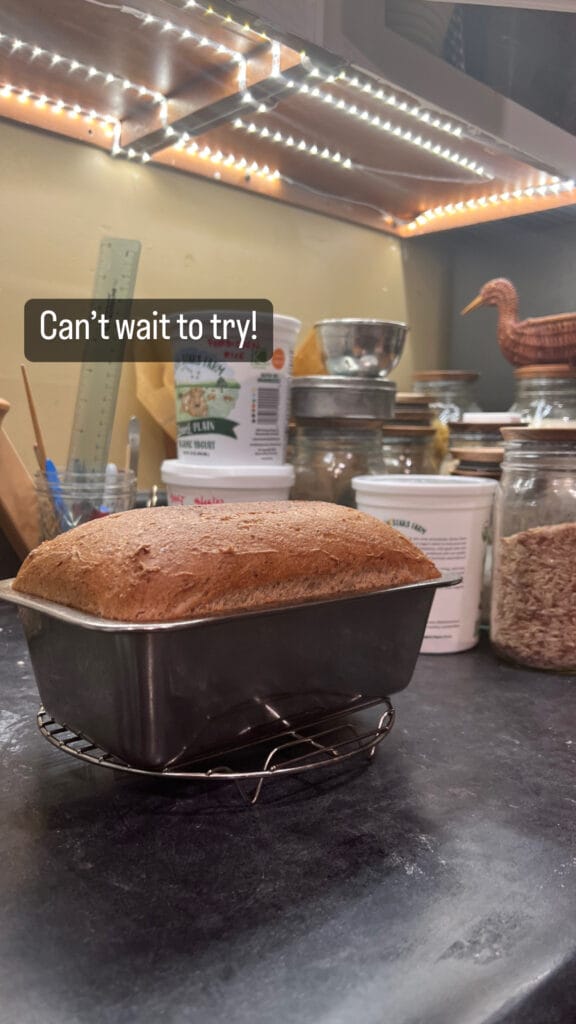
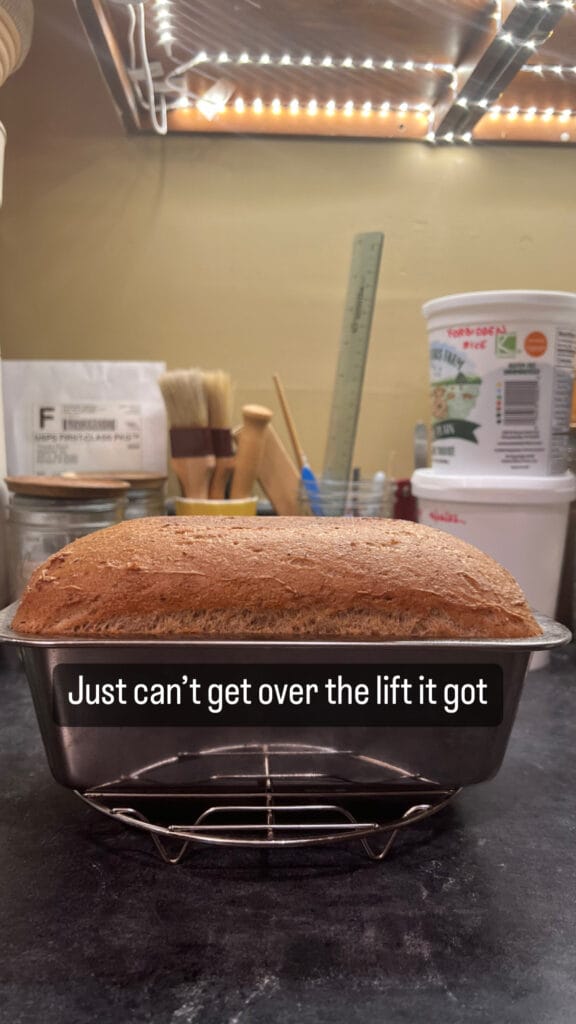
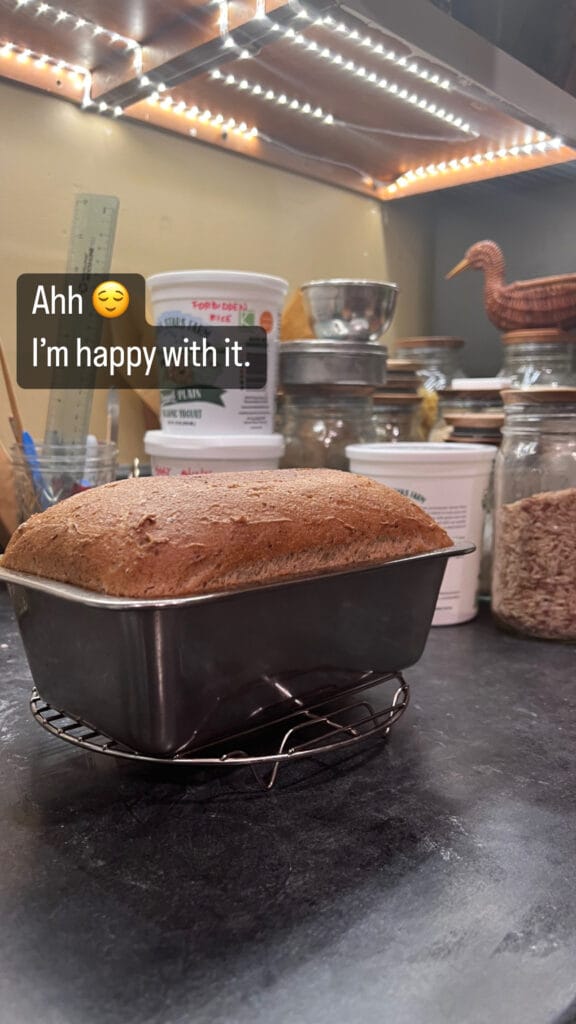
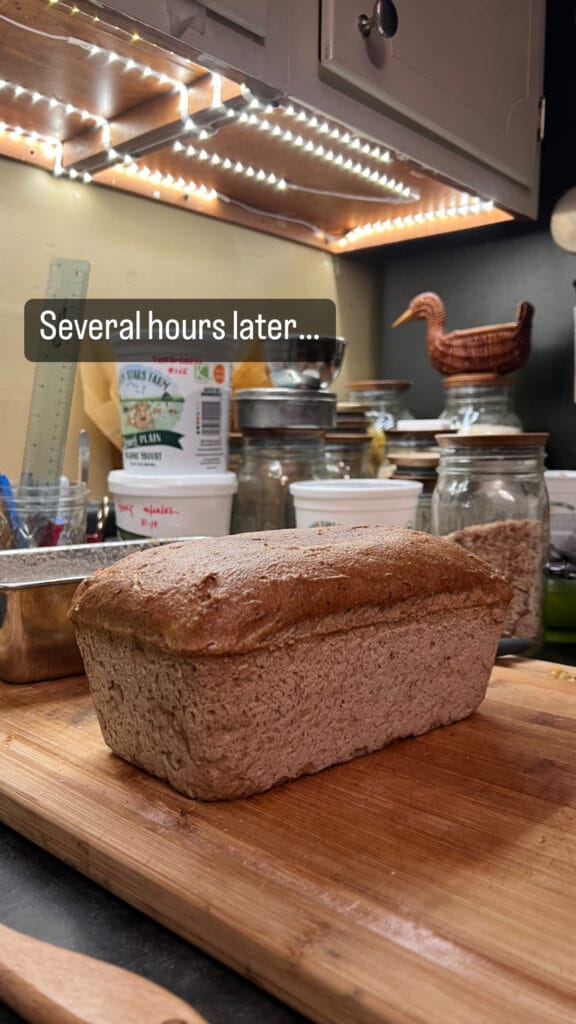
Final Reveal
Alright, moment of truth. How does it look?
Leave a Reply